Wedding planning tricks you into doing crazy things. Like that time I bought hundreds of glass cylinder vases for centerpieces because I thought plastic ones would look cheap and that buying them would be less expensive than renting (which was not only incorrect, but then I forgot that buying things means you have to store them. Sorry, Grandma, you’ll get your attic back one day). With that experience behind me, I’ll never begrudge anyone wanting to make their wedding pretty, because, people in glass houses… But I did learn something really important, which is this: most of the super hip wedding decor you see on Pinterest was created for either tiny weddings, styled shoots, or weddings where the word budget didn’t exist. And once you start multiplying cool ideas by 150, things add up.

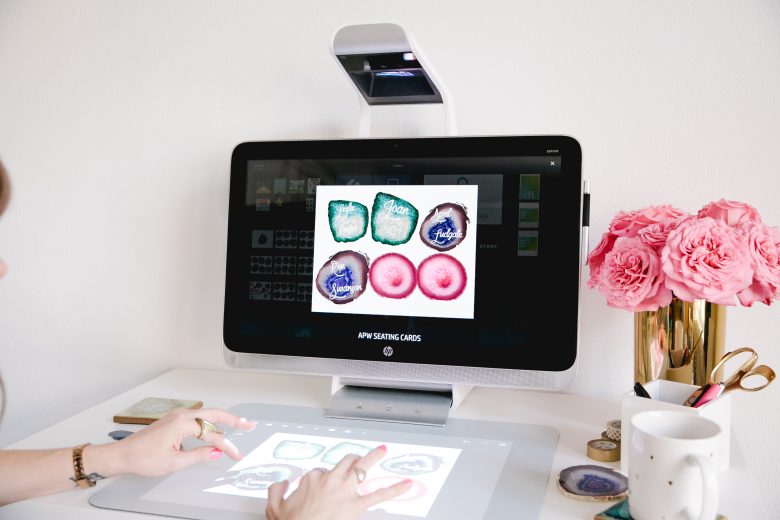
So when we learned we were going to get to work with HP using their new Sprout by HP (which features an overhead camera that can scan 3D objects, and a touchmat that lets you move things around in real time with the power of your fingers), we wanted to see if there was a way to take really cool, but otherwise expensive materials, and turn them into wedding decor that you could make for next to nothing, and possibly even pass off for the real thing.
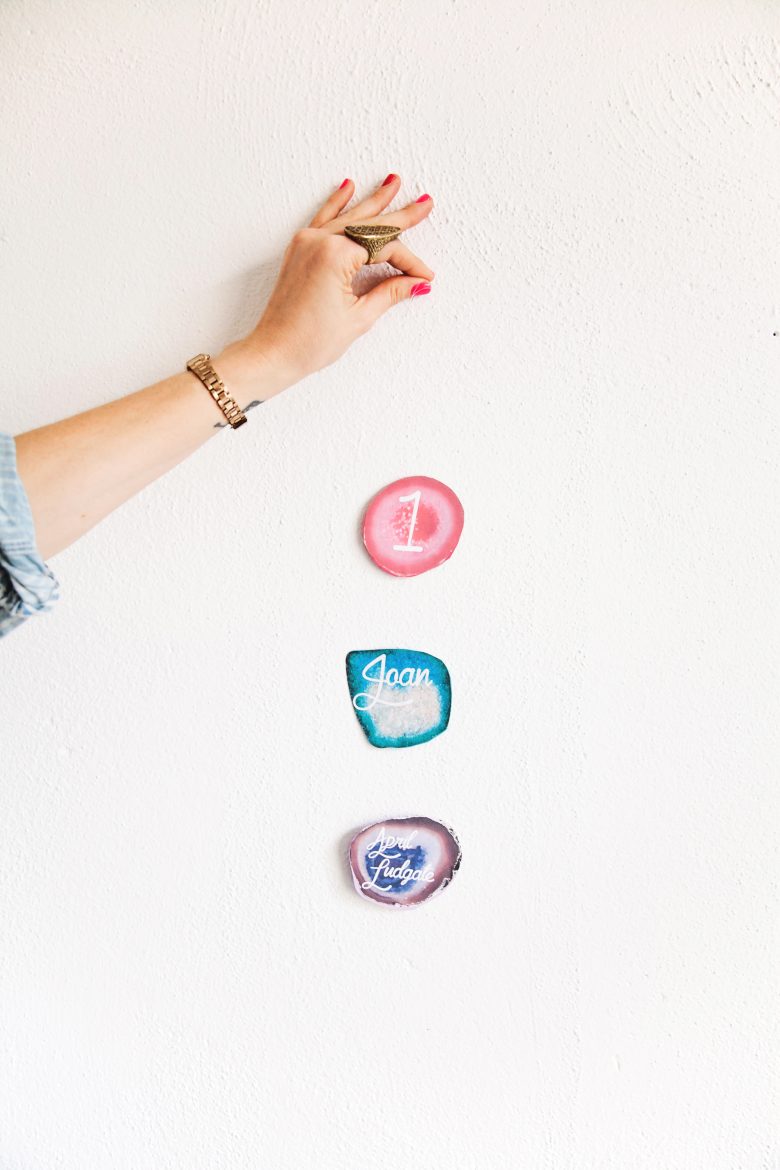
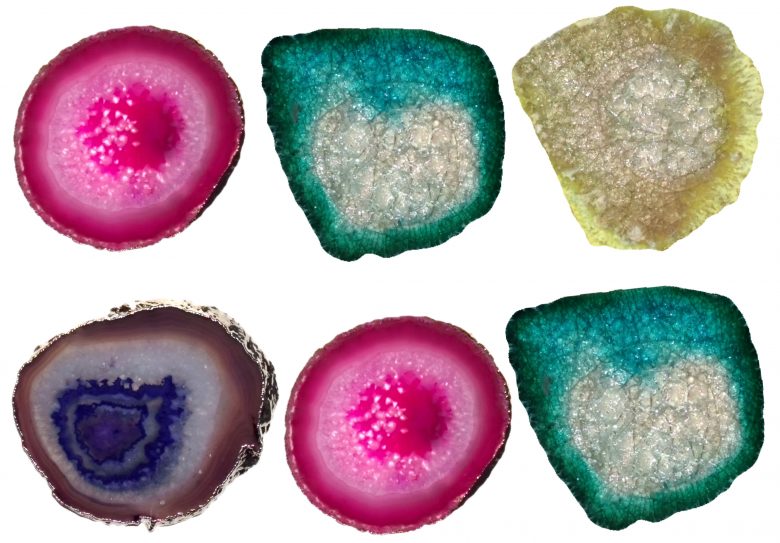
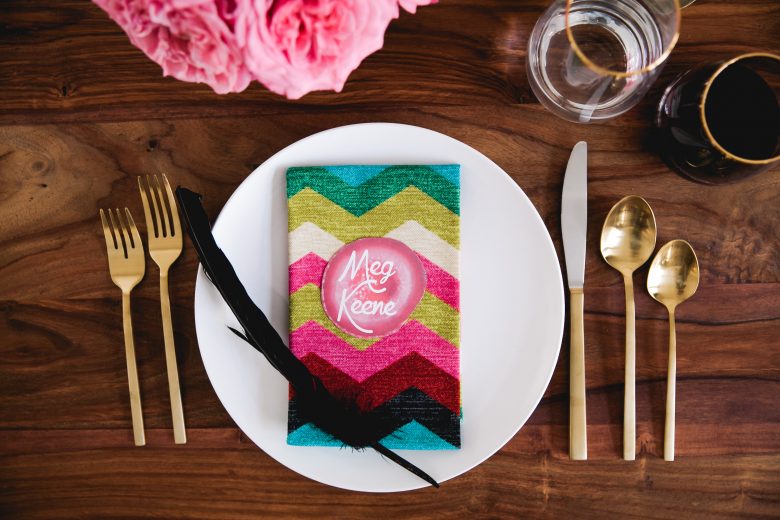
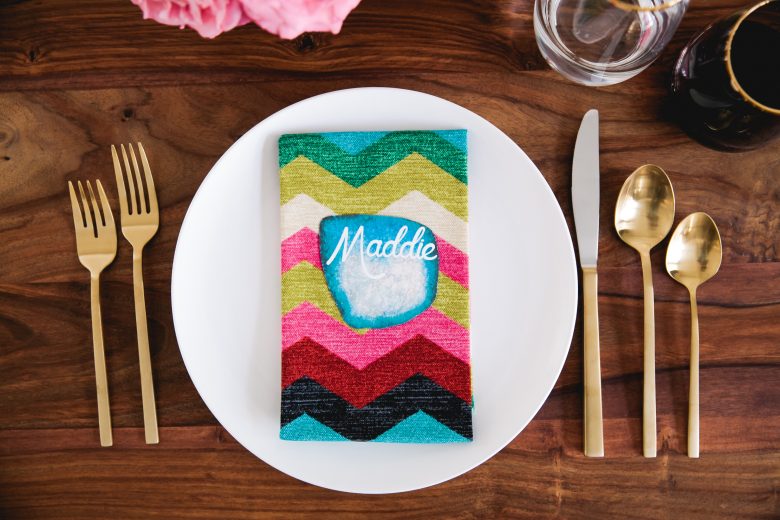
I saw these agate place cards on Pinterest a few months ago, and thought they looked really hip and modern. But as one might expect, slices of pretty rock are… expensive. So we asked Tabitha of Winston and Main if she’d be up for creating a faux version using the Sprout. And she turned around and gave us not one, but two ways you can use scanned agate for cool (and cheap as heck) wedding day decor. But before we get started on our projects, you’ll want to download your agate scans. Since you can easily scan and duplicate items using the Sprout, Tabitha created a few different templates for us that you can mix and match to get what you need. Some of them are set up so that you can type in your guests names and print them out (they’ll look just like ours above.) Or if you want to handwrite your own guests’ names, simply delete the pre-filled fields before printing. There’s also a set template pre-filled with table numbers if you don’t want to write those by hand either. You can download the full set of scans as a zip by clicking here.
Here’s what you need:
For Placecards:
- Agate template PDF
- 8.5″ x 11″ white label paper (Note, you want full label paper, not the kind with individual labels on it.)
- Colored cardstock in the same colors as the agate PDF
- Scissors
For seating chart:
- Agate template PDF
- 8.5″ x 11″ white label paper (Note, you want full label paper, not the kind with individual labels on it.)
- Colored cardstock in the same colors as the agate PDF
- Scissors
- Small brass tube or dowel (Ours was 36″ and cost around four dollars. Depending how many tables you have, you may need a longer tube or dowel.)
- Cord that will fit inside dowel
- Clear thread
- Painter’s tape
- Measuring tape
- Ruler
TOTAL COST: Around $30 for the seating chart, depending on how many guests you have. Approximately $20 for placecards, again depending on how many guests you have.
TIME TO MAKE: 1–2 hours, and can be done way in advance of your wedding.

Directions:
1. Download the agate PDF. Open it in Adobe Reader and change “Guest Name” to your guests’ names. You can change the font/size by hitting ctrl+e (PC) or command+e (Mac).
2. Use a few small pieces of painter’s tape to stick the printed label sheet to matching color cardstock.
3. Cut out the agate shapes and the cardstock backing at the same time, to form a matching set (they form a back and a front). Remove the painter’s tape, but keep the sets together.
4. Next, cut the length of clear thread you need for your seating chart (make sure to add an extra foot so that you have enough thread to tie it to the brass rod), and tape it to a table using painter’s tape. (Ours is five feet, but yours will be determined by how many guests you have per table.)
5. Leaving a foot at the top, place the agate for table one by sliding the cardstock under the thread, then peeling and sticking your agate-printed label paper on top. Your clear thread should now be sandwiched snugly between the two.
6. Measure two inches down and stick your first guest name card. Continue measuring and sticking cards on, until you’ve added all the guests for table one.
7. Repeat steps 4–6 for however many tables you have.
8. Tie each table strand to brass pipe or dowel. Make it a double or triple knot, as clear thread is slippery! Trim any ugly threads.
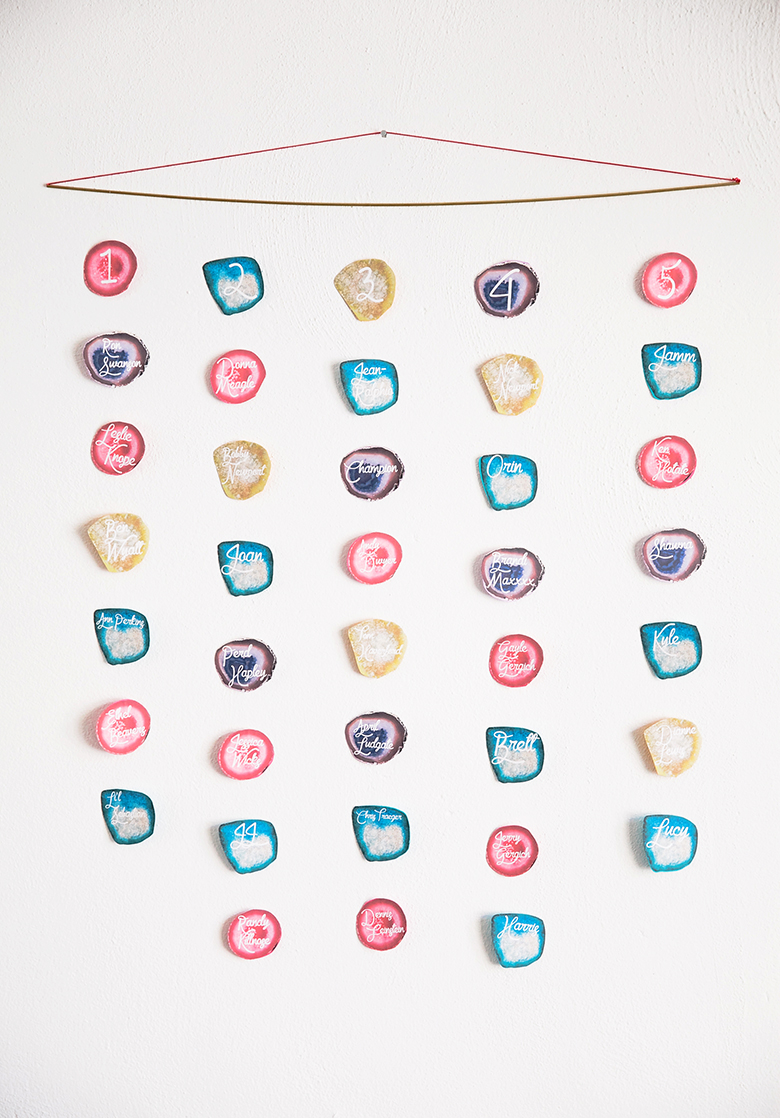
9. Thread the cord through the pipe and tie it to hang display. Done.
Tabitha’s Tips + Tricks:
1. Don’t be a perfectionist. The agate slices are organic shapes, and if you cut quickly and imperfectly it’s no big deal.
2. This project works best displayed against a wall so you can flip all your cards to face the right direction and they’ll stay put. If you hang it away from a wall, the strands will twist and so you’ll see some fronts/some backs from any given direction.
3. And for the #lazygirls in the house, these agate designs are available on Spoonflower as well if you don’t want to bother with all that printing (I bought a swatch of the adhesive wallpaper and it’ currently serving as office decor in my house.)
Modifications:
This project works really well for other decor, like, say, those place cards I loved so much:
Editor’s note: Meg and I have both invited ourselves to your wedding. I hope that’s okay. I know all the steps to the Cupid Shuffle, is all I’m sayin’.
Have you seen any cool wedding decor online that was obviously created for a party of one? LET US KNOW AND WE MIGHT WORK more creative materials INTO A FUTURE TUTORIAL.
![]()
This post was sponsored by the new Sprout by HP. Thanks HP for helping make the APW mission possible!