


")


")


")


On the whole, I’d have to say the staff’s favorite makeup look is the cat eye. Why? Because we are lazy. So when we want to dress things up, we like to do it with as little effort as possible. And while a cat eye certainly requires a certain level of technique, once you’ve got that down, it makes enough of a statement that you don’t have to go all out with a ton of extra makeup. It’s like a giant gemstone necklace for your face.
First, I’m just going to come right out and say it. Doing a perfect cat eye takes practice. Or, as a good friend of mine says, “You have to f*ck up a lot before you get any good at it.” In the meantime, our stylist Shana of Fox & Doll Hair & Makeup has some tips for making the mastery of your technique just a little easier.
First, you’ll want to start out with a freshly primed face using our pro foundation tutorial. And don’t forget to use eye primer for this look to make sure everything stays put! Next, gather your supplies. We badgered Shana for her favorite cat eye products, since so much of making sure it doesn’t smudge is in getting the right brush and eyeliner. Her list includes:
Liner Brush: MAC Cosmetics 209 Liner Brush or Sonia Kashuk Eyeliner Brush (or if you’re new to makeup and want to buy a good starter brush kit, Shana says this one from adesign is the best bang for your buck.)
Liner: Shana has a whole list of favorite liners (she does a lot of cat eyes), but for Meg’s look she used MAC Cosmetics Fluidline gel liner in Blacktrack.
Shadow: For the base, Shana used a MAC Paint Pot in Soft Ochre. She then layered Stila eyeshadow in Chinois as the base and Starlight as a highlighter along the browbone and inner corner of Meg’s eye. As an alternative to buying multiple shades, Shana said Urban Decay has a lot of great nude palettes that carry a variety of neutral colors.
Brow Powder: Shana says that Smashbox makes great brow powders. Just make sure to pick a shade that either matches your natural brow color or is one shade darker.
Lashes: We used a standard set of lashes available at Sephora, and then cut them into thirds. You can also buy individual lashes for more precise application. One thing Shana does recommend is getting black eyelash glue if you can get your hands on it.
Finishing The Look: To get the rest of Meg’s look, Shana used a pale pink blush on Meg’s cheeks (Benefit’s Dandelion) and then finished off the look with a combination of Elizabeth Street’s Street Stick in Ames and Street Gloss in Elizabeth on her lips.
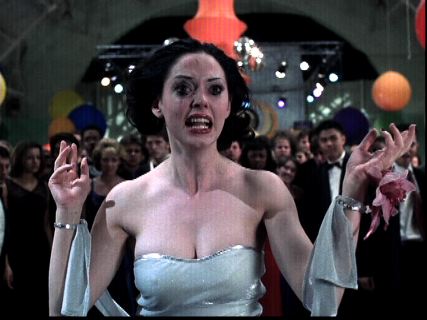
She also offered up a few tips for making sure you don’t end up throwing down your eyeliner brush in frustration because your first attempt at cat eye looks more like Rose McGowan at the end of Jawbreaker.
Prepping: After priming, prep your eyes using an all-over eyeshadow and dusting a light highlighter along your brow bone and along the inner corners of your eyes to add definition.
Lining: I’m pretty sure the mistake I’ve been making all these years is trying to get the perfect winged line in one go. Not advised, says Shana! The best way to do it is in parts. Draw the shape of your line with your liner brush (drawing a slight angle up at the end for the “wing” part), then line along the bottom of your eyelid closest to your lashes. Once you have the basic shape, fill in any gaps. It took me putting together this tutorial to realize that drawing a cat eye is basically like drawing anything else: outline first, then color in (also, look at the first few pictures. Even Shana didn’t get it right the first time, but she went back and filled in where there were gaps to smooth out that line.)
And finally, if you’re planning on doing a cat eye for your wedding, Shana recommends practicing different variations prior to the day to find the shape and thickness that works best for you. And keep eye makeup remover and a pointed Q-tip on hand to clean up mistakes! (Of which, there will be plenty.)
False Lashes: False lashes are another thing I’ve been doing wrong for years. But the good news is, it turns out the secret to getting them perfect is really, really easy. Just make sure that when you squeeze out the lash glue (either onto the back of your hand or a piece of paper), let it sit for at least a minute so it can get sticky. Otherwise it’s going to slide all along your eyes and you’ll end up with the top half of your lid stuck to the bottom like I do. Every. Time.
Finishing The Look: When you’re done, just go over your lashes with another coat of mascara, then add extra eyeliner as needed over your false lashes to cover up excess glue.
Tada! The perfect cat eye and false eyelash application. No, it’s not the easiest or most minimal of looks, but with practice it’s fun to have in your toolkit for when you want to experiment a little with your makeup or for when you feel like emulating Liz Taylor. Which, I’d assume is just about every day, right?


