One of my favorite tips about planning a successful party is to give your guests something to do when they walk in the door (it helps with the social anxiety until they’re warmed up). And my personal favorite of those activities is a DIY photo booth. I mean, I’ll also take a professional photo booth, but the parties I throw don’t usually have that kind of budget. When Michael and I got married, it was at the very beginning of the DIY photo booth trend. I had a DSLR, and a tripod, so I figured what the heck. I could probably make a professional-looking photo booth, right? Except, our venue was dark, and it turns out we had the wrong tripod mount. So what we ended up with was a fancy backdrop that mostly hid boxes at our venue. C’est la vie. In hindsight, I realize now that what we were trying to do was rig a professional-looking photo booth without being… professionals. Which might have been our first mistake.
Also in Logistics


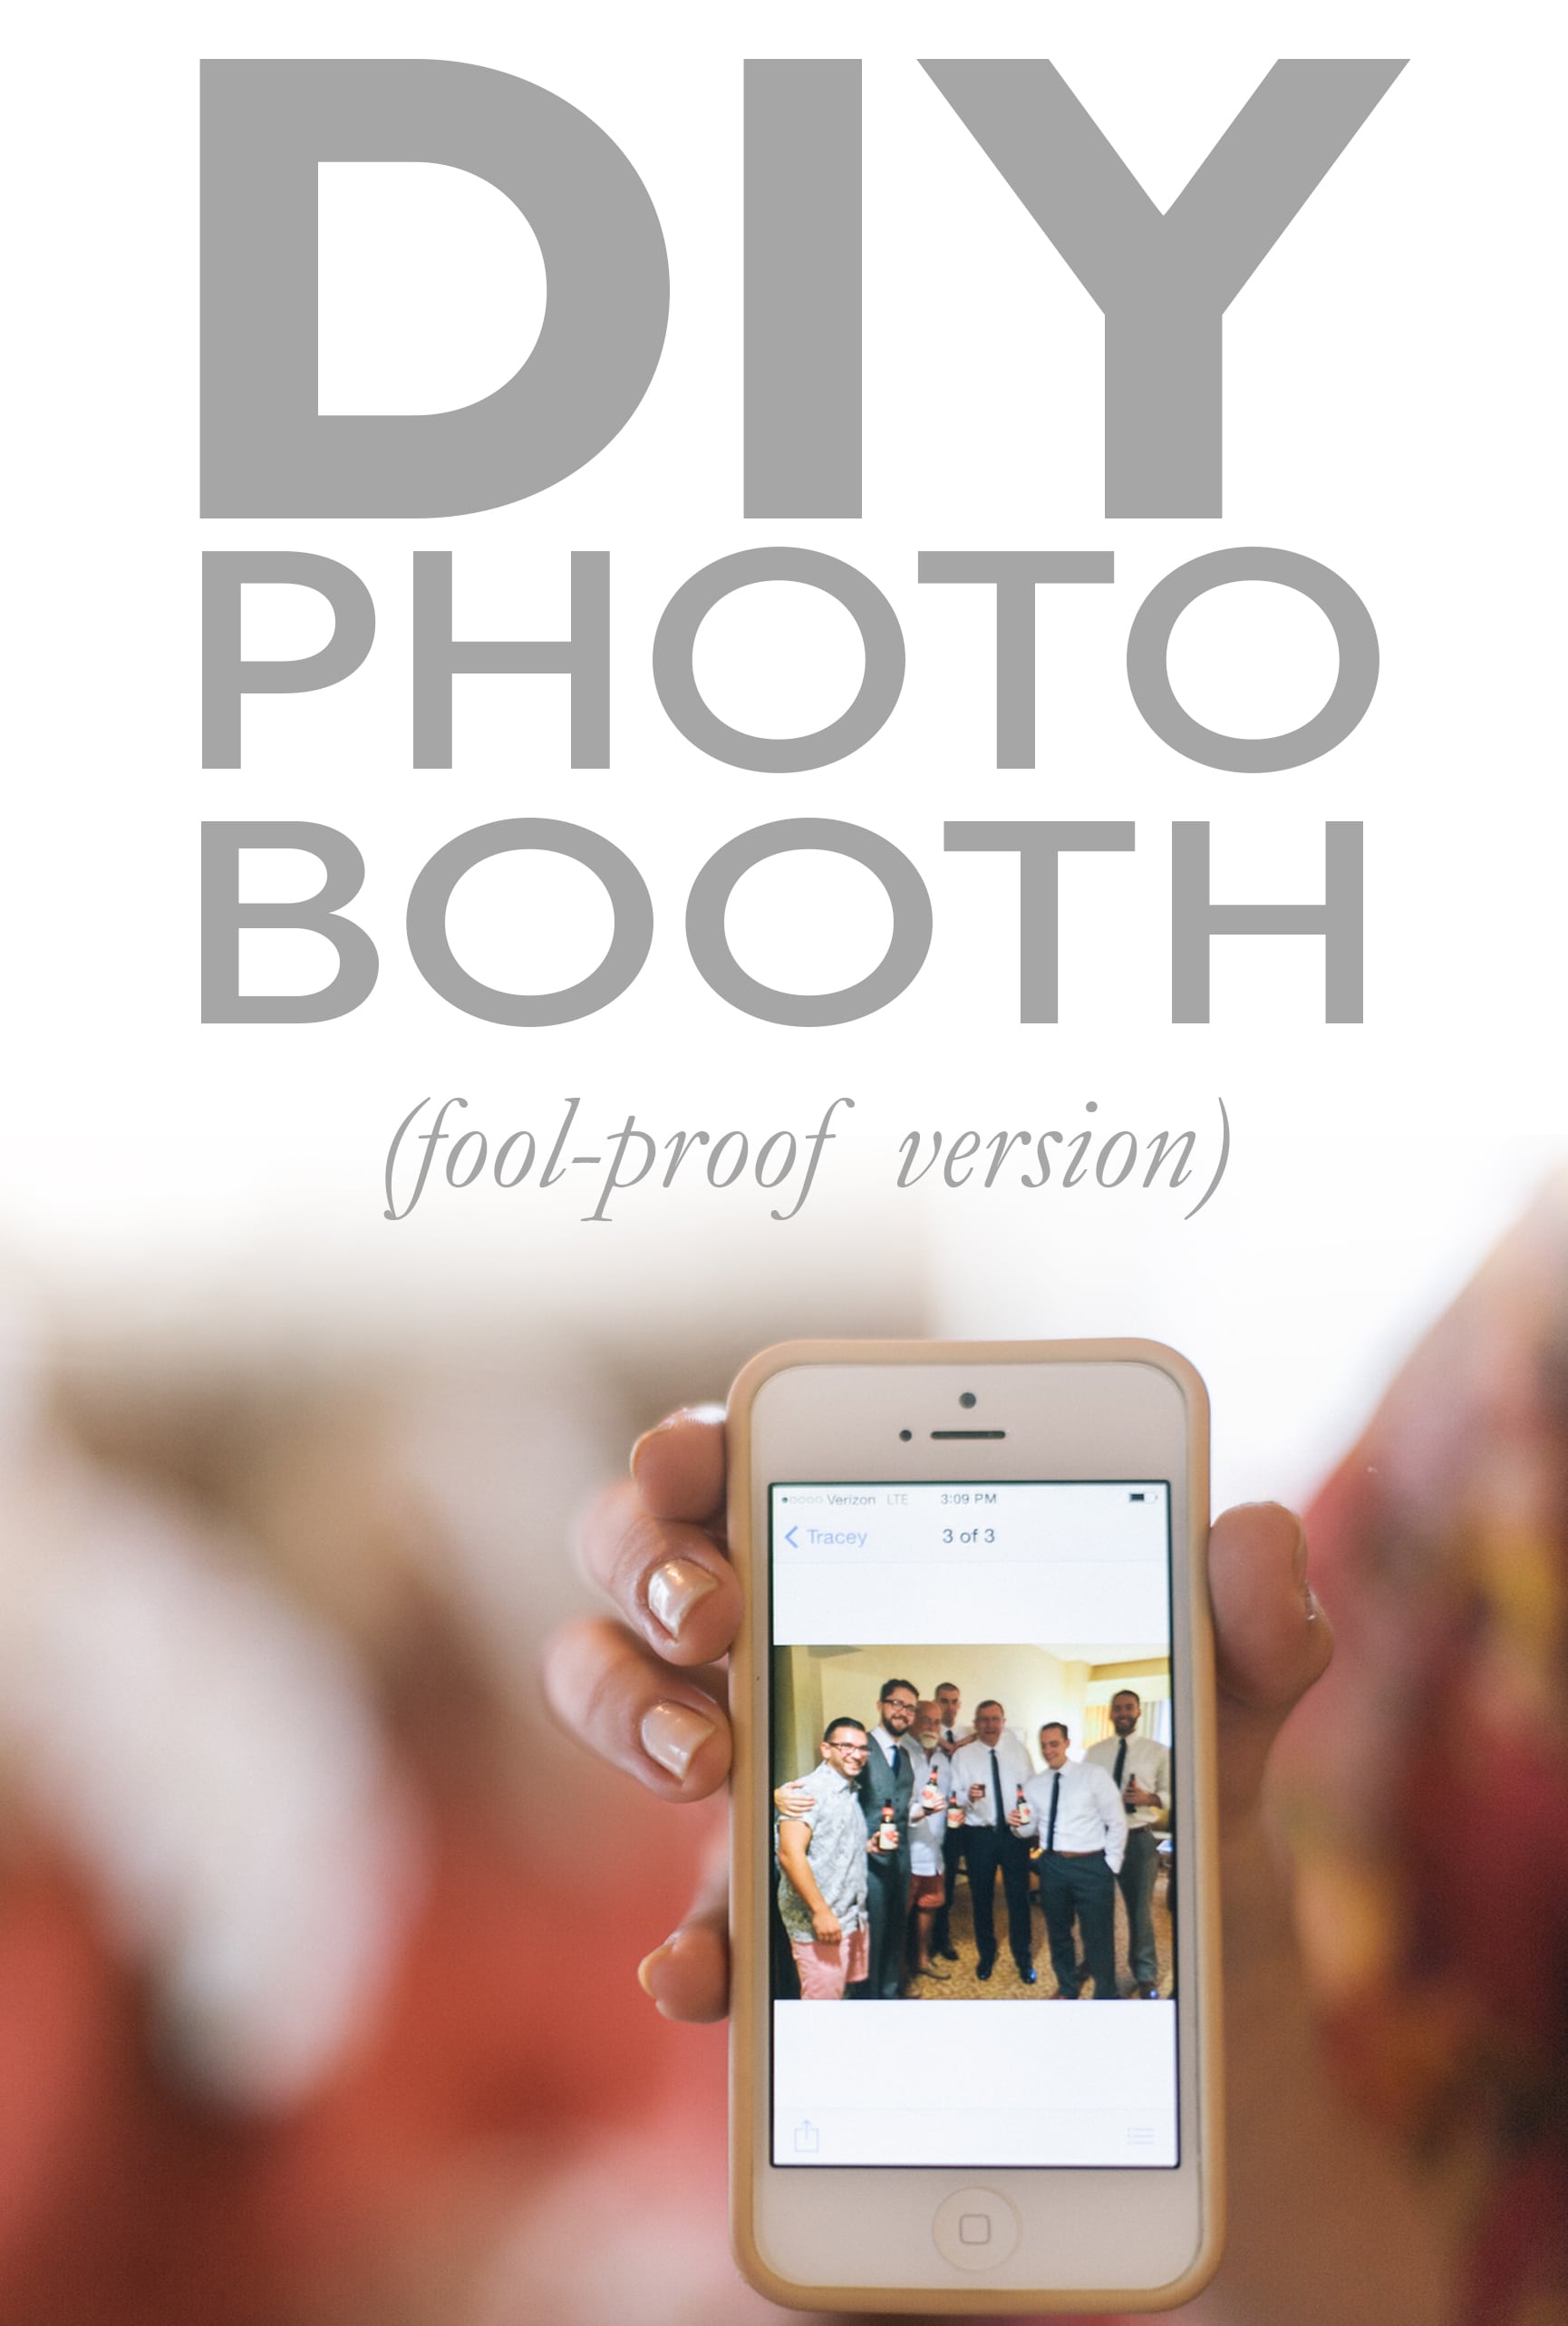
So a few years ago we asked our now Associate Editor, veteran wedding photographer and general badass, Mark of LeahAndMark & Co. for his best tips on DIYing a wedding photo booth. At first I was surprised that his advice wasn’t chock full of fancy equipment and lighting equipment recommendations. But then I remembered—unless you know someone who owns and understands DSLRs and lighting equipment (or you have a burning desire to learn), trying to figure out how to use your uncle’s fancy camera (and then leaving said camera in the hands of drunk wedding guests) is probably more trouble than it’s worth, and renting or buying all that equipment can quickly get close to the cost of a professional photo booth. Plus, as technology has evolved over the last few years (hello iPhone with portrait lighting!), you really don’t need pro equipment to make a kick-ass DIY photo booth. So with that, here is Mark’s guide to an awesome, foolproof DIY photo booth setup, updated for 2018:
The FoolProof DIY Photo Booth
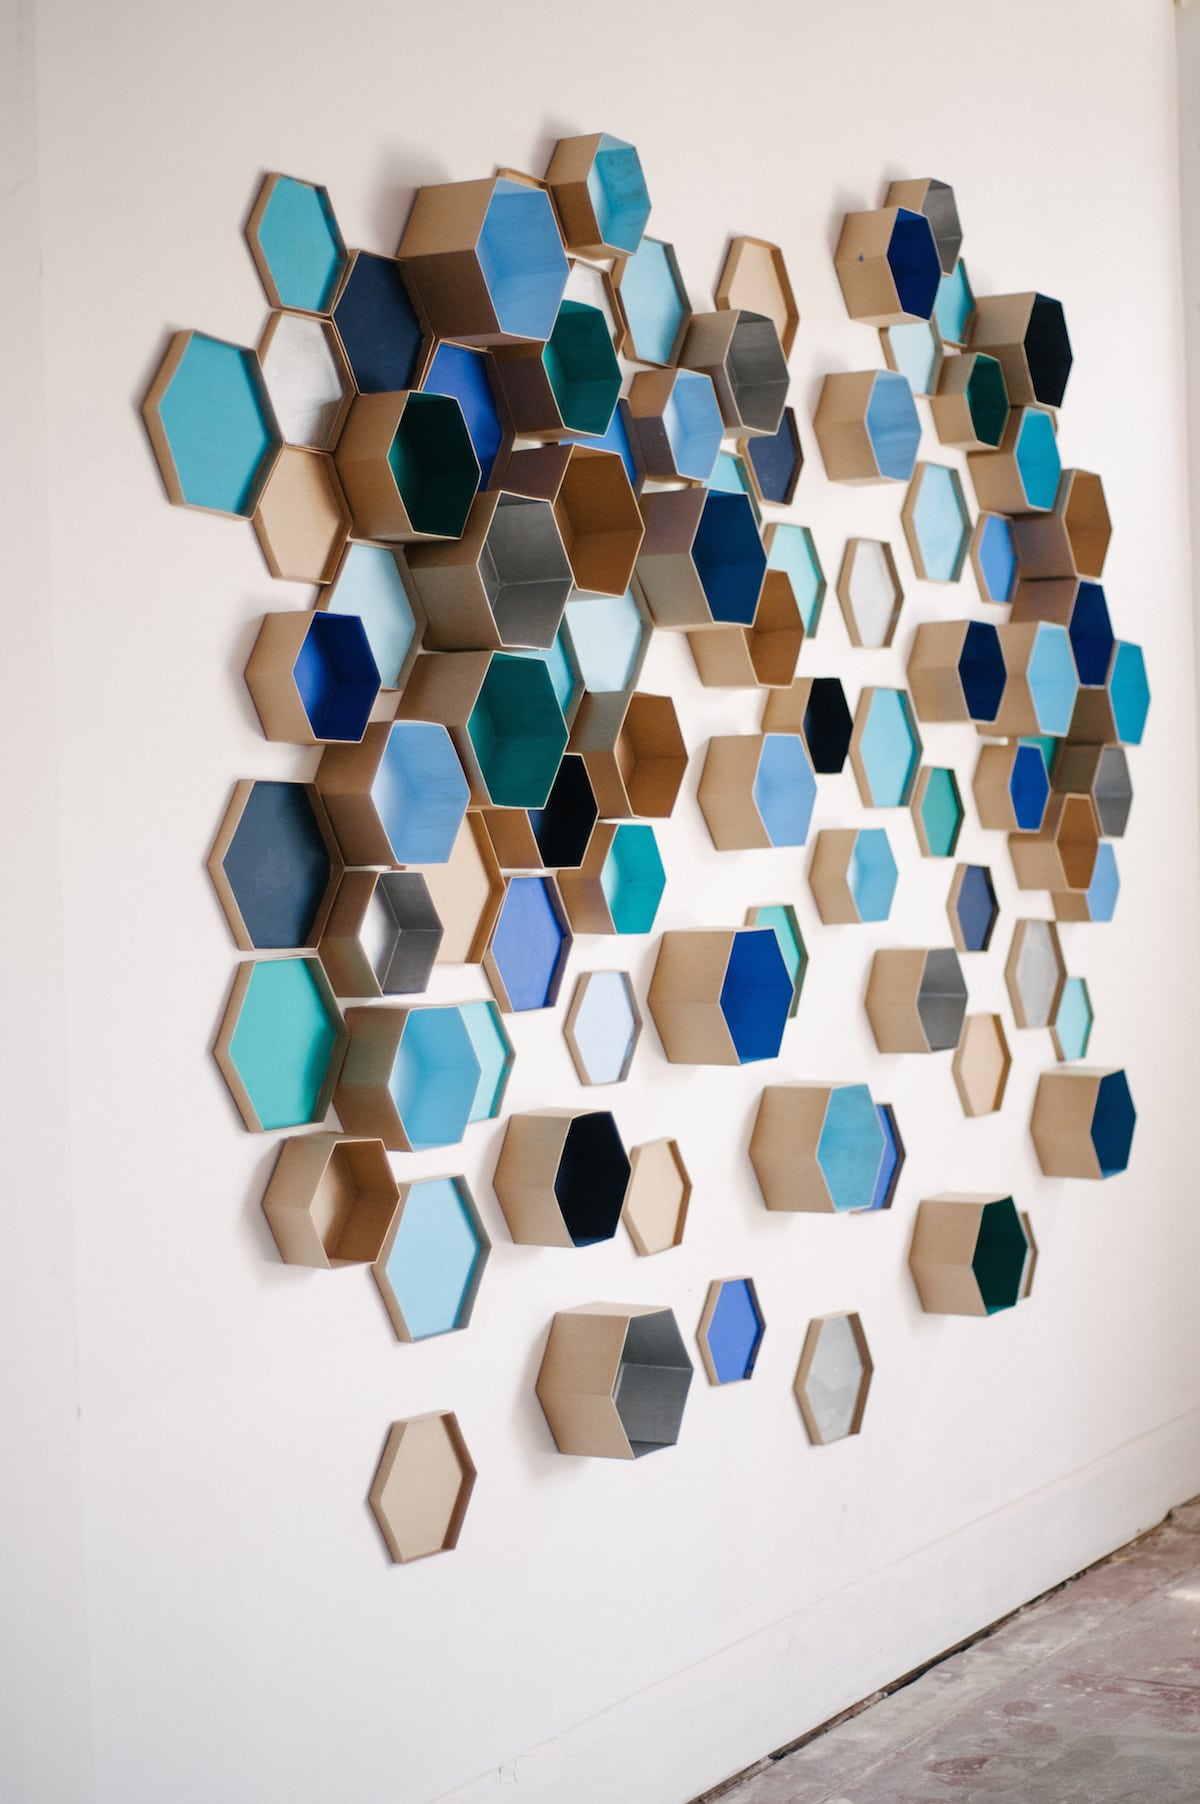
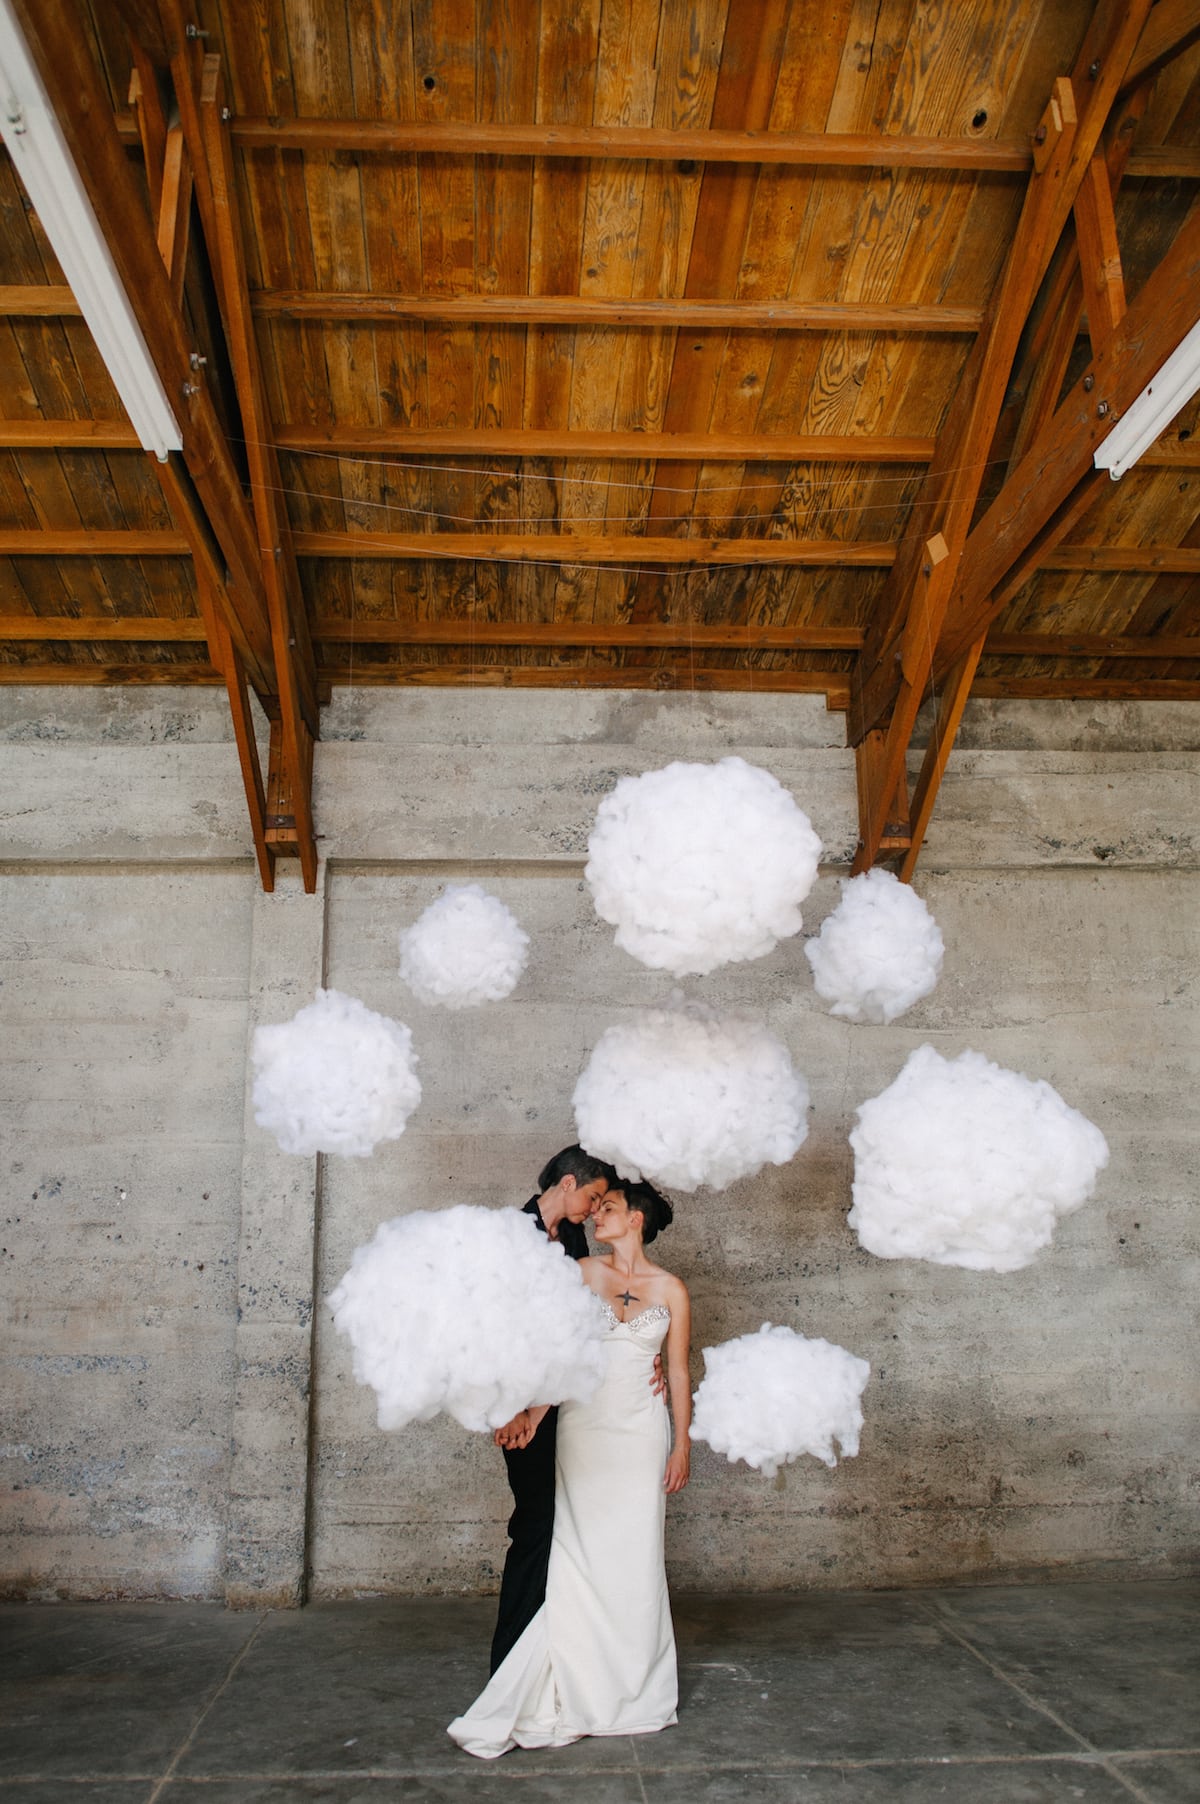
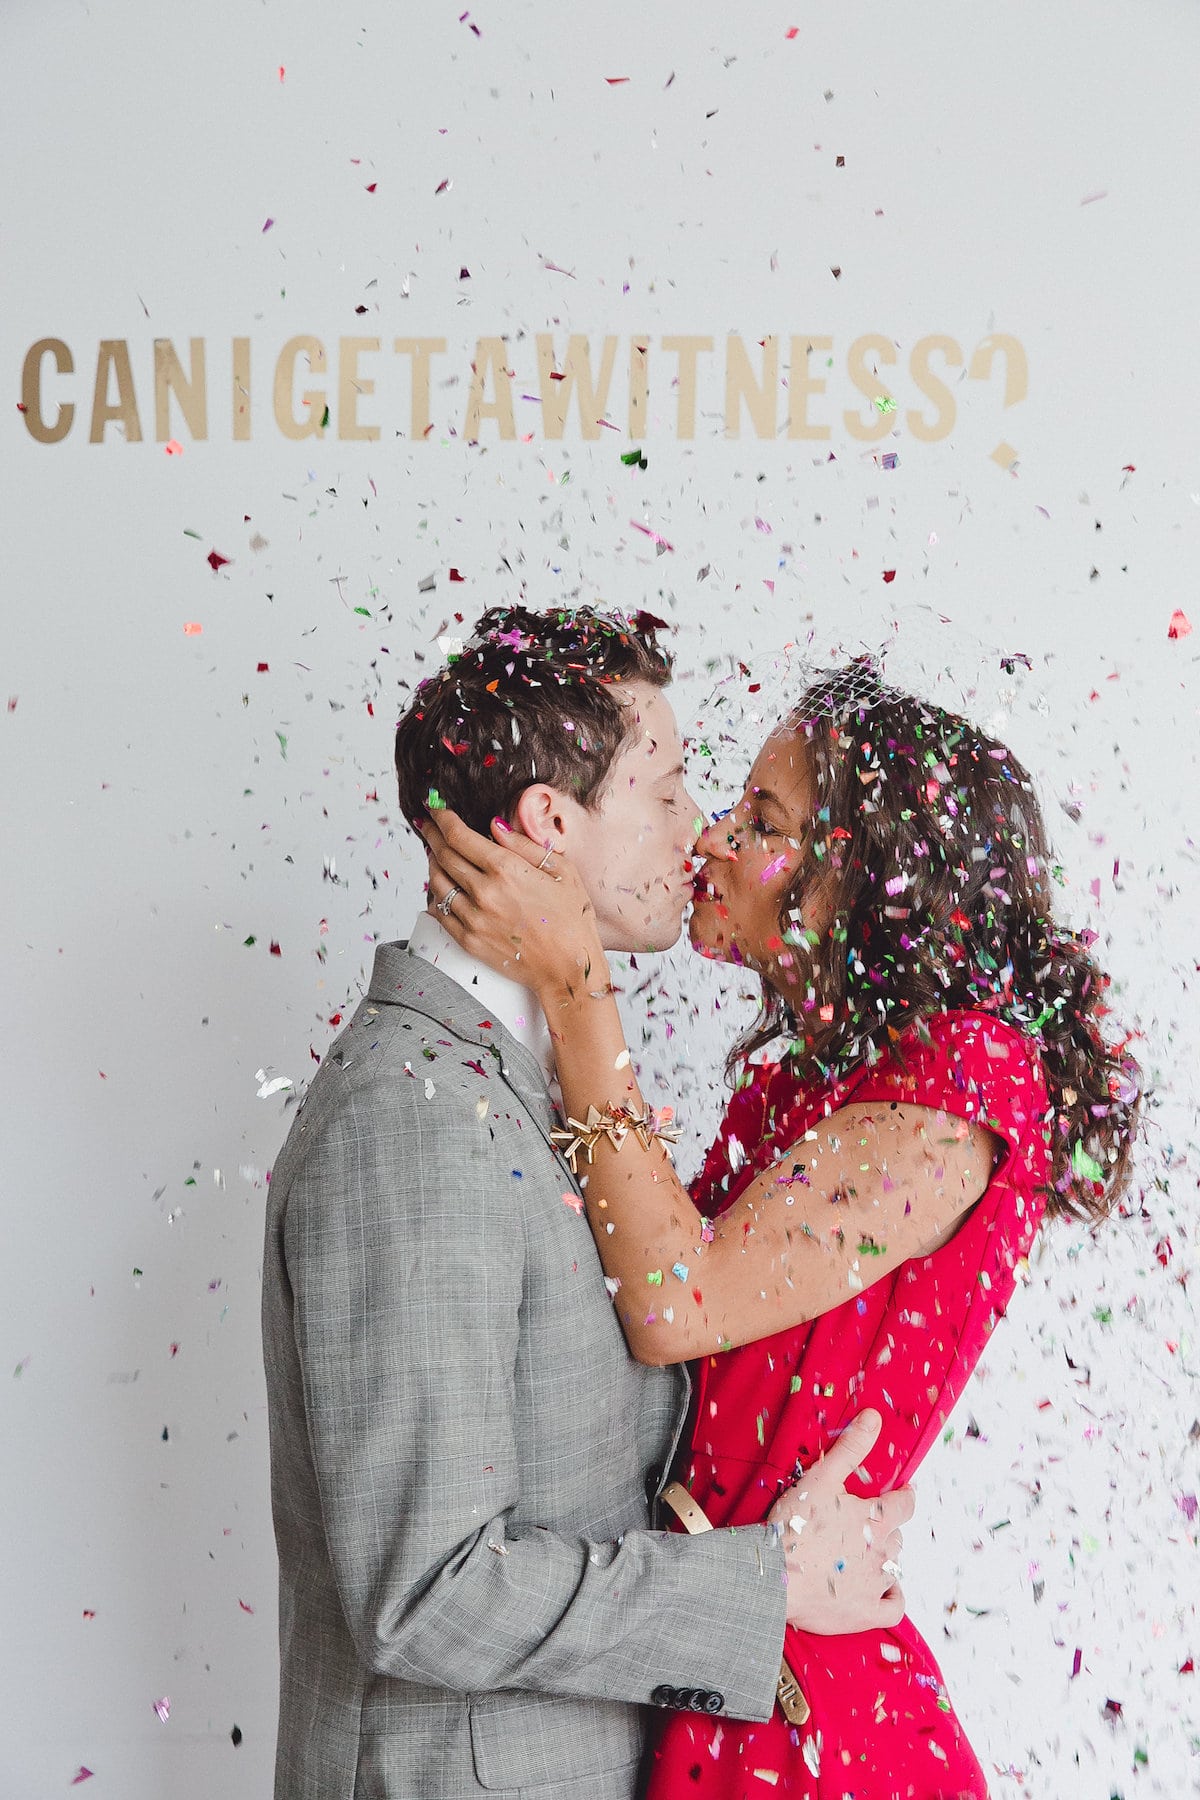
1. Make a backdrop. Your backdrop doesn’t have to be fancy. It definitely should not be complicated. Start with a blank solid-color wall. White. Black. Blue. Whatever. If you want a pattern—have a pattern. If you want a mountain landscape with cats shooting lasers, or unicorns wrestling dolphins—do it. You can buy pre-designed photo backdrops at places like Minted or buy custom fabric at places like Spoonflower. Though, a favorite affordable photo booth backdrop is to use those tinsel curtains you get at the party store. You can buy them on Amazon for about $10 a piece, and they look great just about anywhere. The trick is to layer them so that your backdrop is at least two curtains deep. But if you’re looking to get really creative with your backdrop, APW has a few amazing tutorials up our sleeves, not to mention a monster round up of the best backdrops we could find on the web. Beyond that, pretty much no one does a DIY backdrop better than our friends at Oh Happy Day. They have tutorials for everything you could think of, from this giant moon to this cool balloon marquee and this amazing giant wall of chocolates. Whatever you choose, make your backdrop 6 feet x 4 feet or larger, and it will match the dimensions of most camera formats automatically (which are 3 x 2 horizontally). You can either affix the backdrop to a wall using gaffer tape, or you can purchase a backdrop stand such as one of these.
2. Provide as much light as possible. Instead of fiddling with any kind of camera flash setup, just make sure your DIY photo booth area is very, very, very well lit. I’m talking strangely, glowingly, bright. It can be in a well-lit separate room or just partitioned off—but make sure you provide lots and lots of light. If your reception is during the day, then this won’t be a problem at all. If you need to bring in lamps and plug them in—do it. (For an easy and decent lighting hack, you can use one of those cheap dorm lamps with any bulbs that say “daylight” on the package or have a color temperature of between 5000K and 6500K for a super bright light that mimics daylight. Both are available for cheap at most big box stores and it should say right on the box what the temperature of the bulb is.) Oh and the lighting doesn’t have to be boring white light either. You can have colored light—just make sure the area is still very well lit. Or you can go a little more professional look with actual studio lights like these and make it feel a little less DIY.
3. Get some props. Toys. Costumes. Inflatable pool floats. Whatever you think will make it more fun and interesting for your guests. Animal masks are always a big hit, and so is anything that’s way too big or over sized like sunglasses or jewelry. The weirder or more unique, the better. Always. Except feather boas. NO FEATHER BOAS. Ever. (They’re just too messy.)
4. Make a hashtag for your wedding. I know. Maybe you don’t want to be those people with a hashtag for their wedding. But it’s okay! You’re only having the hashtag so that you can collect and find ALL of the photos that people took at your wedding. And they’ll probably post their photo booth pics on social media anyway—so you’ll want them to use your hashtag! (Because otherwise, if people are using their own devices, there is no way to get your own copy of these photo booth pics.) Here is our guide to creating a hashtag, while you’re at it. Just remember, if your guests have private Instagram accounts, you won’t be able to see their photos unless you follow them. So if it’s really important to you to get all of your photo booth photos at the end of the day, you may want to provide a camera to take the photos with (see our tip on iPad photo booth setup below) or look into one of those wedding photo sharing apps like WedPics that automatically gathers all your wedding photos in one place.
5. For printed photos, buy an Instax Share SP-2 photo printer. This printer enables anyone with a smartphone to print their photos right on the spot at your wedding reception. Sure you have to buy the instant film cartridges, but depending on the number of your guests, you’ll spend considerably less than you would if you rented a professional photo booth. It’s a super simple process that the majority of your guests won’t have a problem completing. They just need to download the app onto their smartphones. (Pro-tip: Have a simple sign that explains exactly how to do it, and maybe a friend standing around at the beginning that can help them out.) Then, using the app they’ll take a selfie photo (or have another guest take the photo for them) and then upload it to be printed. Boom. Done. DIY Photo booth! Of course, remember to purchase enough film and enough batteries for the printer. Oh and maybe task a person to periodically check up on the setup or post an instructional sign on how to change out the film. Still, all very easy and convenient.

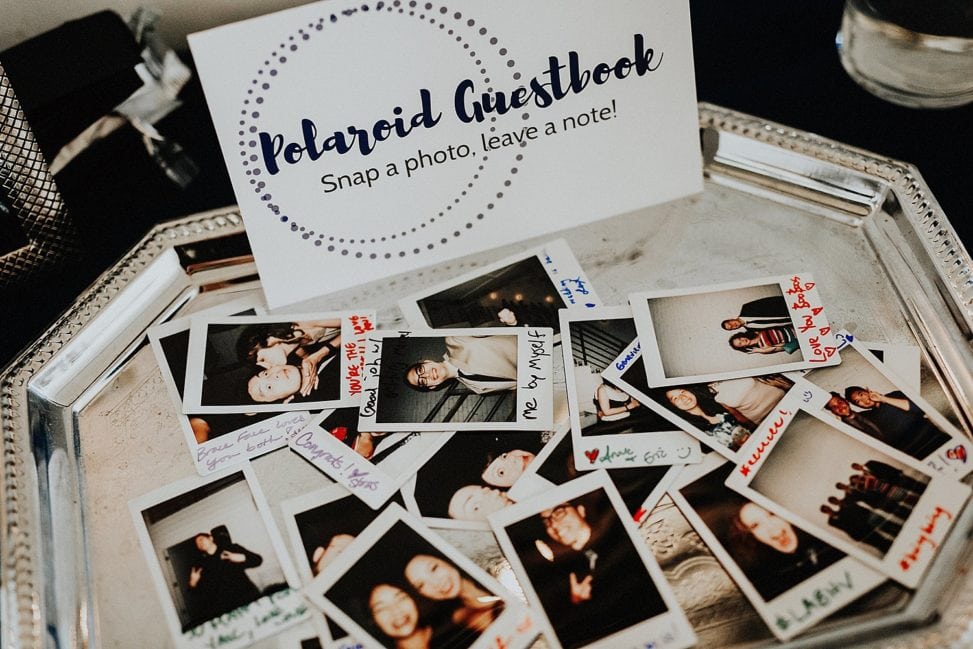
6. Or buy any other Instant Film camera. For an even simpler, more lo-fi option, grab one of these cameras (fun fact: this is what the APW staff uses for just about every one of our parties). And since you already set up a great backdrop and lots of light—the photo booth pics are guaranteed to be badass. Guests can either take photos selfie-style or have the person behind them in line take a quick photo. AND THEN IT PRINTS OUT (I mean develops!). Photo booth DONE! (Pro-tip: If you’re using either of the printed methods above, your photo booth can double as a guest book opportunity. Just have your guests take two photos: one to keep, and one to put in the guest book. They can stick the photos into a regular album with washi tape or photo corners, or you even buy an album with instant film pockets already built in.)
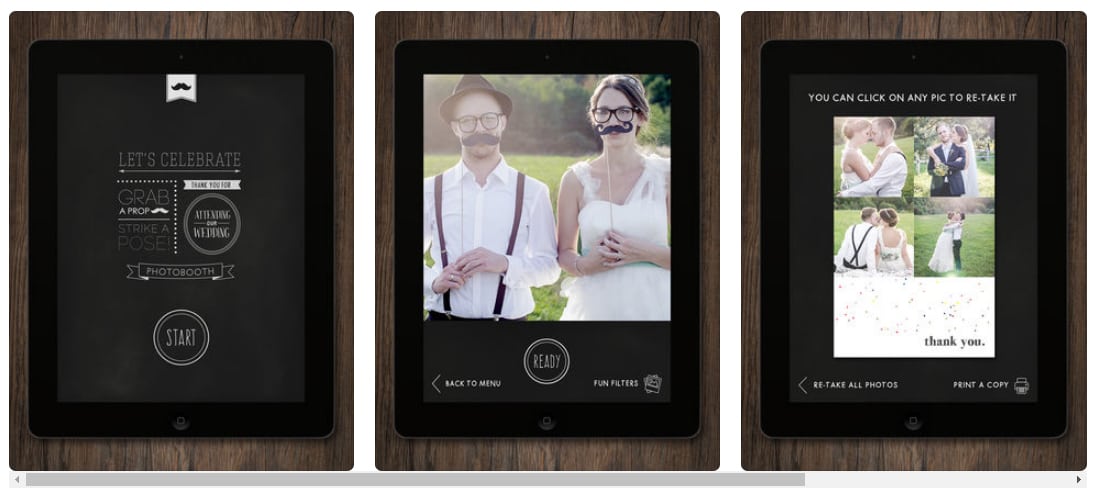
7.ipad DIY photo booth setup. Using an iPad for your photo booth camera works great because it has a larger screen and is a centralized spot to hold all of your photos. There are a few photo booth apps out there but this one is really great. It’s simple, clean, and easy to use. You can even connect a wi-fi printer and give your guests the ability to print their photos right there as well. And since all the photos are taken with the single iPad, you don’t have to go hunting through a #hashtag collection.
No matter what camera you have, or how you decide to print or develop the photos, all you really need is a backdrop, plenty of light, and a little bit of courage.
Did you have a DIY photo booth at your wedding? Share your tips and best practices in the comments!
A version of this post was published on APW in 2015.