
Have we ever taken a time out on APW to talk about my household’s love for HBO’s show Girls? We lived in Brooklyn as young broke creatives in our twenties, and the show nails that experience with almost eerie precision—that’s what my apartments looked liked (though, worse), that’s what my bosses were like, that’s what my clothes were like (not intentionally terrible, I was just so broke), that’s what having young confused self-absorbed friends is like. And don’t even get me started on how these two theatre kids feel about the incisive precision of the writing—the show could be a stage play. WHICH. Blah, blah, blah. The point here is the wedding at the end of Girls Season One was the best I’ve ever seen on TV. God bless Jessa and her bohemian taste: that wedding looked nothing like your average TV wedding, and it was killer. Ever since then, I’ve been obsessed with recreating a DIY version of that wedding arch (and figuring out how much it cost). The answer is actual Girls arch (pictured above) probably cost a few thousand (well spent) dollars. Ours? Somewhere south of $500. (There are so many variables here, that I can’t give you a more accurate figure on what your arch would cost. I can tell you that it’s going to be a few hundred dollars on a hugely impactful statement piece.) The actual execution of the arch is remarkably simple. Once you have your base (more on that below), you’ll want to take three posts of some sort (we used birch poles that were six and a half feet high), and zip tie them together to form the arch. Then, start by attaching the center of your fabric (or trim) to the center point of the arch and then tie the ends of the fabric to the sides of your base, so that it looks like a curtain. Alternate how high you tie the fabric on each side of the base to create variation and interest. That said, this project isn’t necessarily dead easy. It requires enough of an artistic eye to know how to combine varying colors and textures while still creating a cohesive project (we have the lovely and talented Michelle Edgemont, who we flew out to help us with these projects, to thank for that here). It’s best to find some sort of inspiration picture (we used the real arch from Girls) to set your color palette and tone, and bring said picture to the fabric store so you don’t get overwhelmed and sidetracked. More interesting trim (like pom poms and lace) tend to be really expensive, but you’ll want to use some of it, as adding those bits instantly takes what is otherwise a weird maypole project and turns it into something cool. We offset the cost of trim by buying yards of brightly colored fabric and cutting it into strips, to give the arch added volume and color. If you’ve got the budget and want to make yours more lush, go for broke and buy as much pom pom trim as you can get, and then string up some carnations for good measure, and hell, buy/make a more expensive/ awesome driftwood base. However, if you, like us, are making this work in the limited-budget range, tissue paper poms are inexpensive and pack a lot of the punch. However, while they come pre-cut and pre-strung, they take a while to fluff out, so make sure to give yourself time to do that properly. So first, let’s start with the base. Here’s how we made ours:

A few tips from Michelle on making this as sturdy as possible:
- These silver buckets can be picked up at Home Depot on the cheap, so don’t worry about getting fancy.
- The stronger your poles are, the sturdier it will be. An alternative to birch poles (which I just sourced for you, so you don’t have to hunt down like a crazy person, a la my life) are poles made for closets that can be found at Home Depot. PVC pipes, while cheaper, are not recommended as the support beams for this project, because they are too bendy and won’t be sturdy once decor is added to it. You also won’t want to use poles higher than eight feet (see, top heavy).
- Buy your poles FIRST then your PVC pipe pieces SECOND. This way, you will definitely know that the poles will fit into the PVC.
- It’s easier to buy short pieces of PVC that will easily fit in the buckets (can be found in the plumbing section) rather than long pieces that need to be cut down. If you can’t find short pieces to fit in the buckets, you can use a Dremel
or a hack saw to cut through PVC pipe. Please don’t screw around with thinking you can cut this with a kitchen knife. You can put your eye out/lose a finger that way. (This is a project that goes a step beyond crafty DIY, and moves into light construction with safety precautions required.)
- Buy more cement than you think you’ll need. Each bucket will hold about twenty-five pounds of cement. Also, you are going to be tired of mixing cement. Keep going, persevere, even when your arm hurts from mixing. The buckets NEED all of that cement to be heavy enough to not fall over in the middle of your ceremony. Fill the silver buckets three inches from the top.
- The poles CAN be cemented right into the buckets, but they’ll be very hard to transport and store. The technique with the PVC pipe means you can strike your arch, and pack it away easily.
- The PVC pipe is invariably of a larger diameter than the pole. Wooden shims
(or cardboard) are needed to stick into the PVC pipe when the pole is inserted to steady the pole into place. Otherwise, the poles won’t stand upright.
The end result ends up looking like this. We used decorative moss to cover the cement. For this project you’ll need two buckets and two poles to serve as your base. Once the poles are in place, secure the third pole to the top of the structure using zip ties. (See instructions below.) 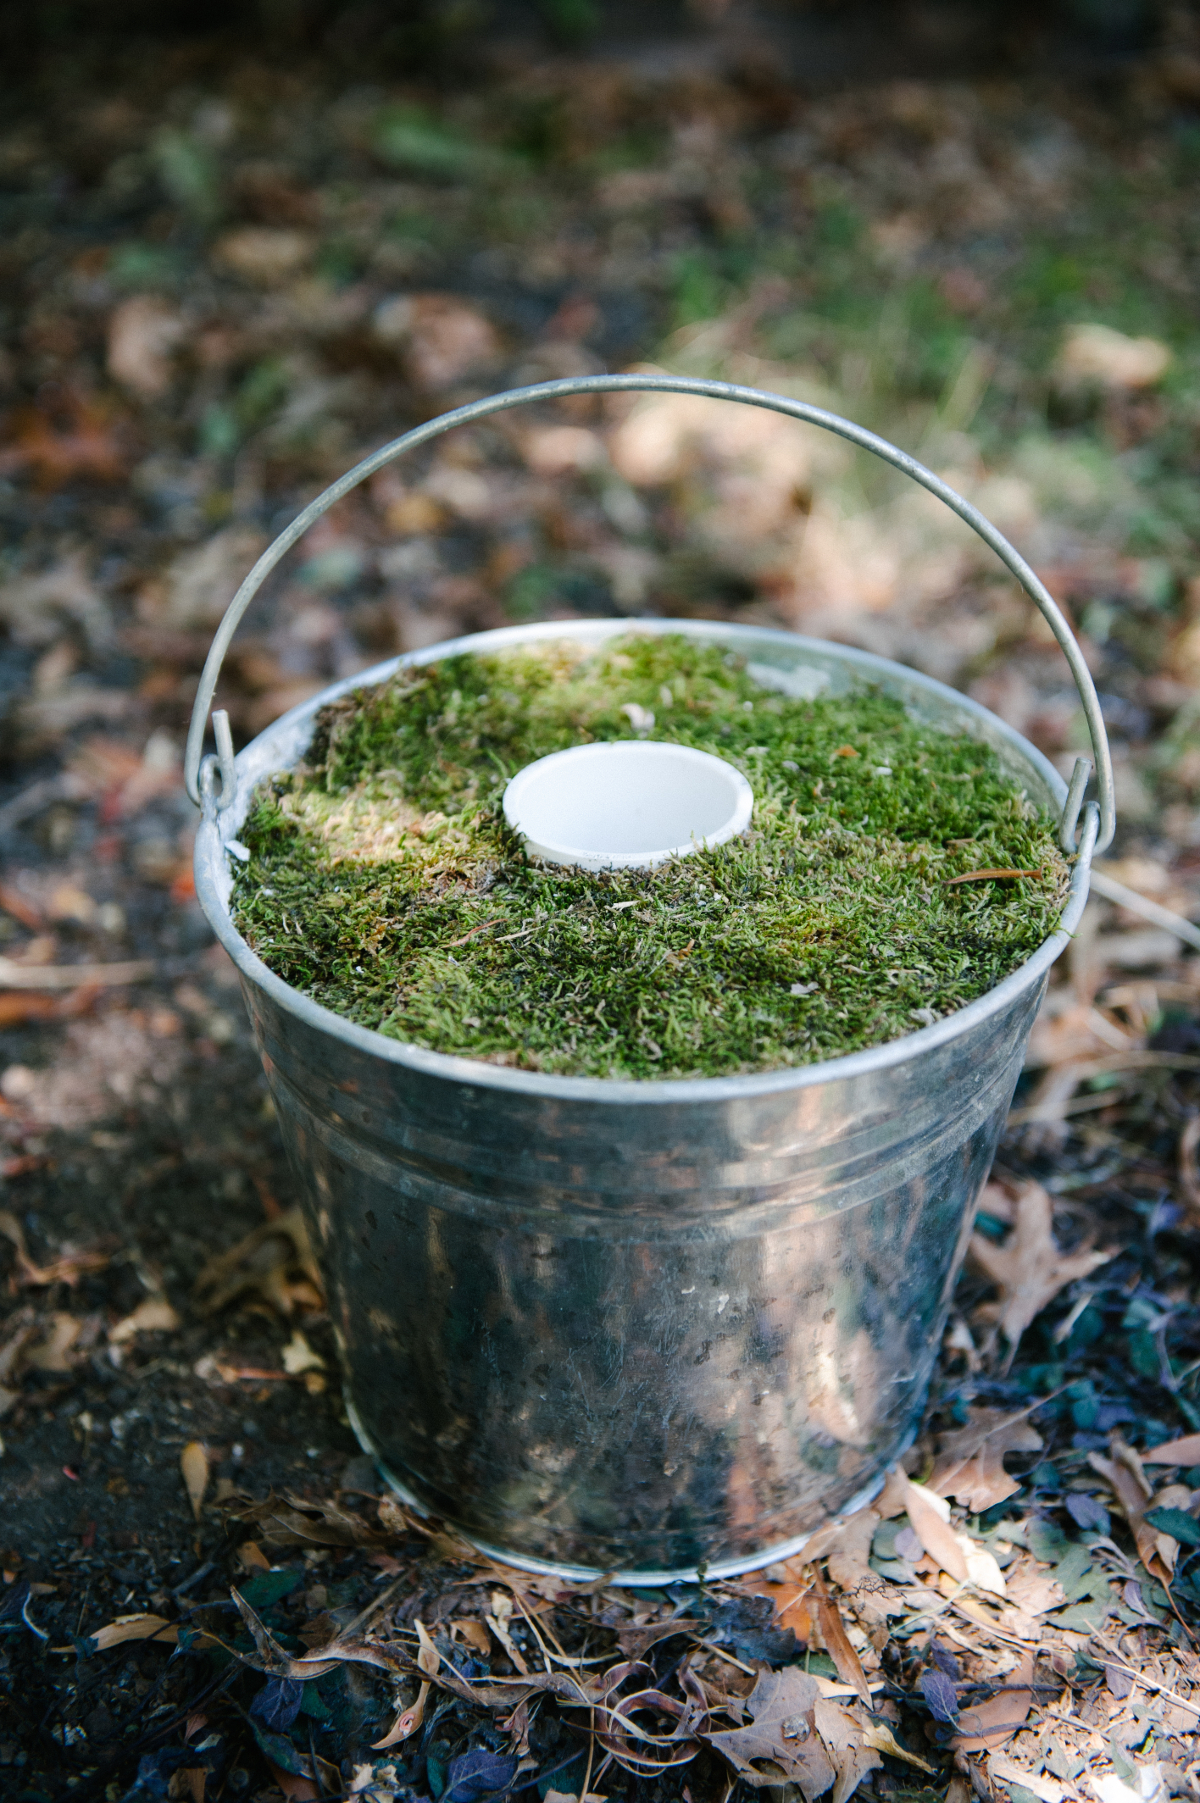 Now for the arch itself. You’ll need:


