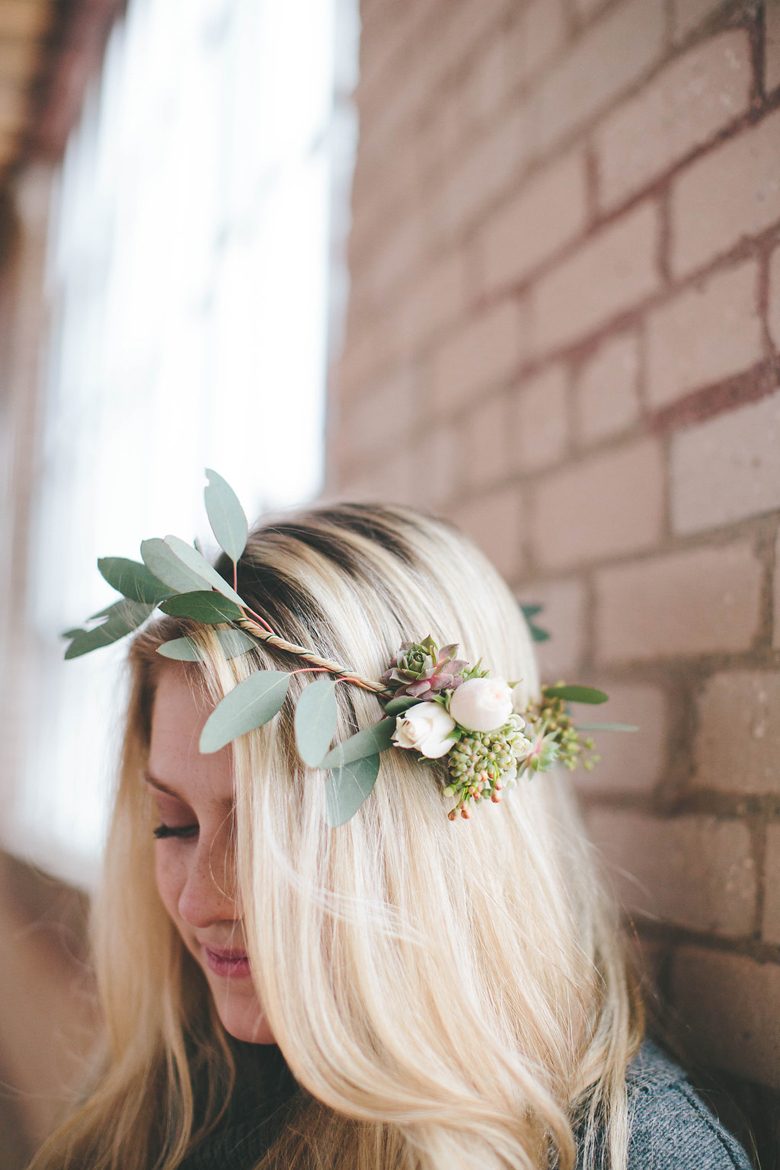
So there are flower crowns. And then there are FLOWER CROWNS. The difference? About five pounds. While we love a good oversized flower crown, the truth is, most real live humans can’t pull off the kind of crazy-huge flower crowns you see all over Pinterest (I’ve been told that being able to support the weight of your head is an essential part of enjoying your day). So today we’ve partnered up with Kaci Muller of Damsel Floral in Grand Rapids, MI (you may remember her from the Bride School Workshop from last fall) to bring you a DIY asymmetrical leafy flower crown that’s a bit more suited to the minimalists (or flower girls) in the crowd. Because sometimes less is more. Here’s what you’ll need:
Materials:
- Flower crown wire
- Floral wire
- Wire cutters
- Scissors
- Floral glue
- Alum—a pickling spice that helps extend the life of stems (optional—learn more about it here)
- Mirror
- Floral tape
Flowers Used:
- 3–5 seeded eucalyptus
- 3–5 stems of white wax flower
- 3 white spray roses
- 2 mini succulents

Directions:
1. Start your floral crown by measuring your floral crown wire (note: this is most easily done in front of a mirror). Place a finger at your measurement spot, and trim the wire, leaving one excess inch on each end. Loop these ends together and bend inward, creating the floral crown form.
2. Finish the ends of the wire with glue to prevent fraying.
3. Next, prepare your flower stems by cleaning and trimming (your spray roses should have one-inch stems). Tightly wrap green wire around a cluster of three roses, forming a small bunch. Leave a few extra inches of wire at the end, and set the flowers aside.
4. Carefully poke green floral wire through the succulent stems (or base) and tightly wrap the wire around it. Leave a few inches at the end and set aside.
5. Now you can move onto the crown itself. Begin first by covering it in foliage. Have short stems of eucalyptus leaves and seeds ready! Secure green floral wire at one end of your floral crown form and begin wrapping the wire around the crown, adding in eucalyptus leaves and seeds as you go. Add leaves around the entire crown, but add seeds in sparingly. Once you reach the other end of the crown, trim your floral wire and tightly wrap to secure.
6. Place the crown on your head and stand in front of a mirror. Using the mirror to help you, hold up the prepared spray rose bunches to determine where you would like the asymmetrical pop of flowers to be placed on the crown. Once chosen, remove the crown and attach the roses to the crown using the excess wire on the stems.
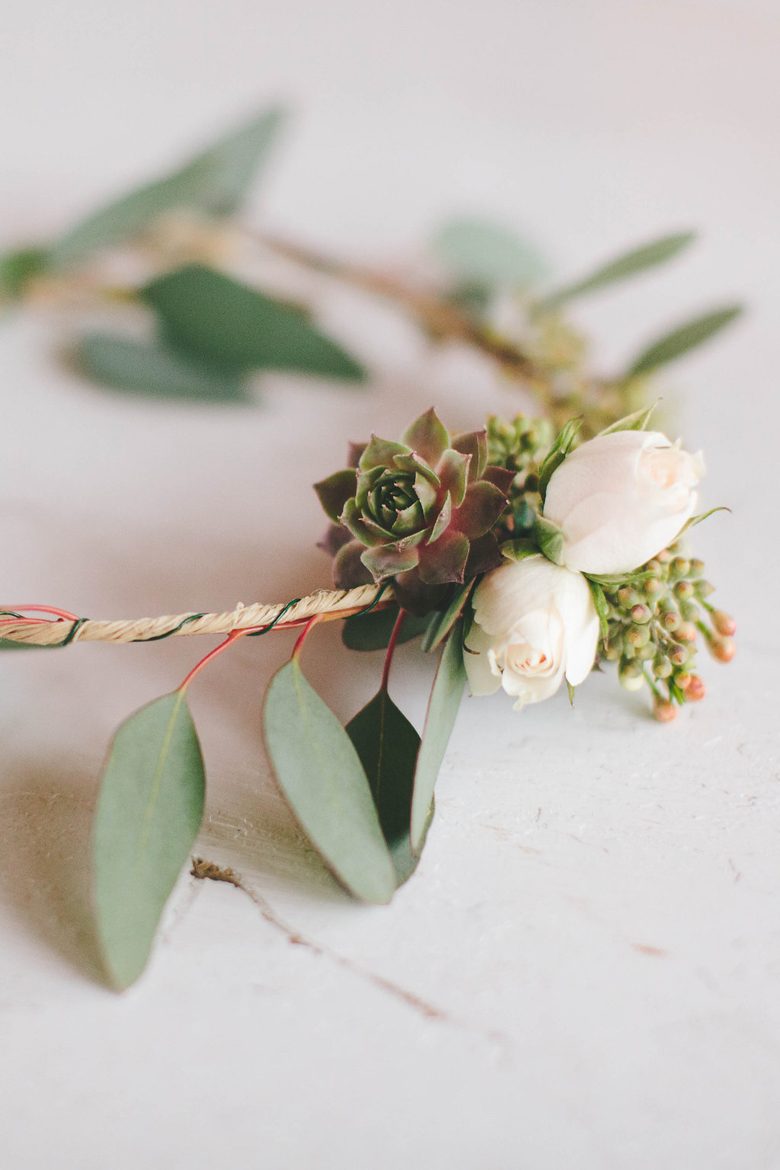
7. Add the first succulent to the crown near the rose bunch, securing with the excess wire on your stem. Then, accent the other side of the rose bunch with a few small pieces of wax flower, again attaching with wrapped floral wire. Add a second succulent after the wax flowers. Add any additional floral wire for loose blossoms and your crown is complete! Girl, you look amazing.

Pro tip:
Kaci picked hearty flowers and thick foliage for this tutorial, so that your flower crown can be made at least a day in advance. For extra staying power, seal the stems with floral glue or Allium. Don’t make more than two days ahead (and keep refrigerated in a Ziploc bag with a wet paper towel if you do make ahead). Petite bloom sizes work best for crowns as they do not get too heavy.