How do you feel about glitter? If your answer is anything other than, “My life is sad and meaningless without it,” then this tutorial is not for you. Move yourself to safer grounds. If your answer is, “My favorite part is when it sticks to my skin,” then proceed.
This is one of those centerpiece tutorials that I would normally look at and immediately think, “Nope! Too complicated.” Because… flower arranging? But in truth, you’d be pretty hard pressed to screw this guy up. Before we dig in, I recommend heading over here and reading our original post on building lush floral centerpieces. Once you understand the basic technique, substituting different flowers and materials is a breeze.
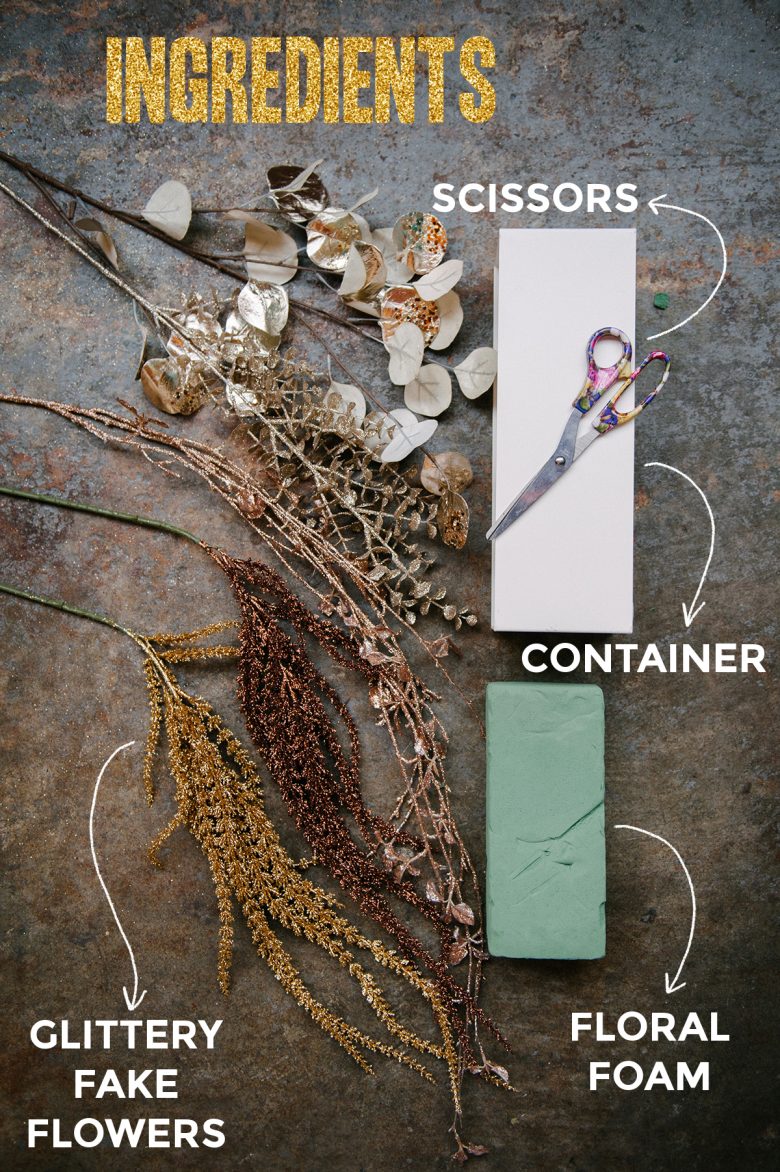
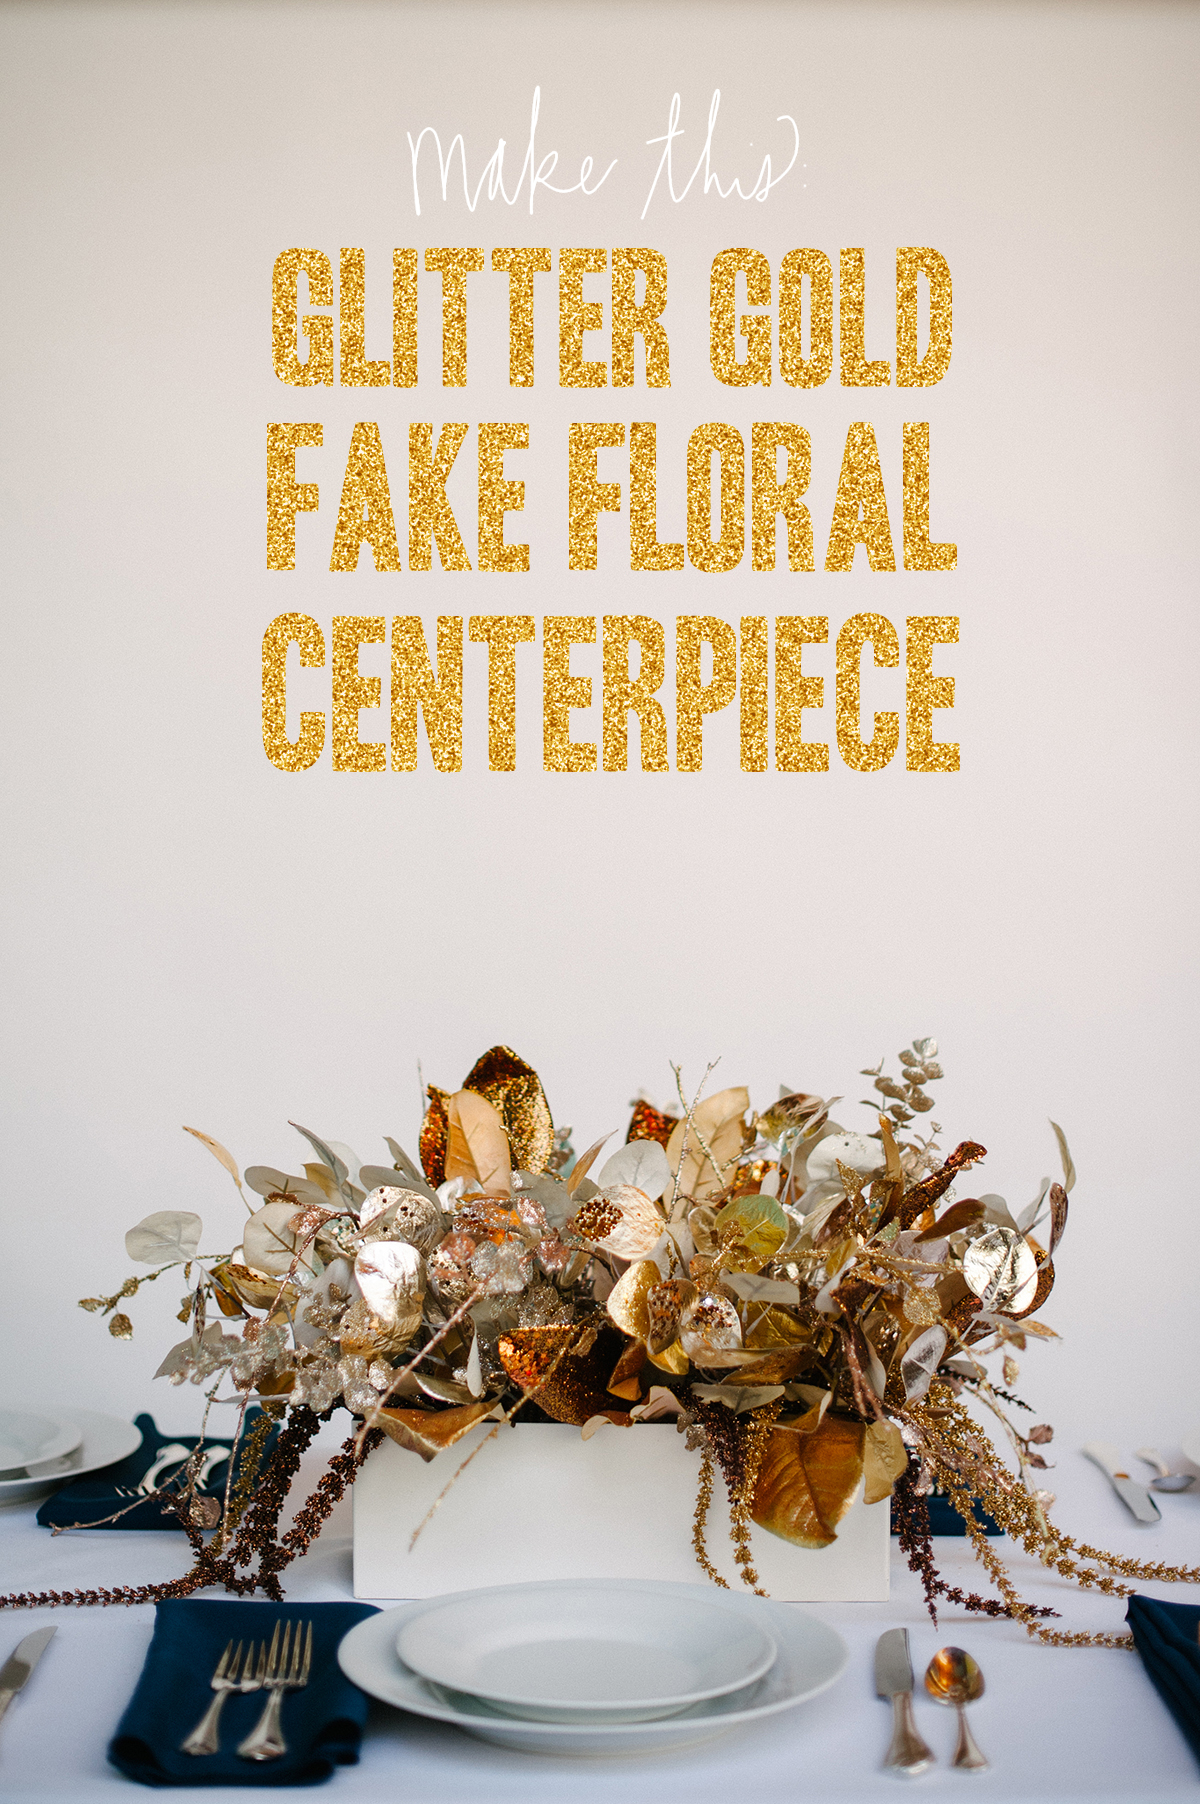
As we said in our original floral centerpiece tutorial, you are aiming for variety, but also cohesion. We chose a palette of… sparkle (let’s call it gold), and then looked for five or six different flower types with different textures, heights, weights, and shapes that still adhered to our color scheme. We’re using fake flowers for this tutorial (available at craft stores; these particular flowers were part of Michael’s winter collection), but you can use the exact same principles to apply to real flowers too. Just make sure to purchase enough materials for a nice, full arrangement (your mileage will vary depending on the size of the arrangement you’re making). This thing gets better the bigger it gets.
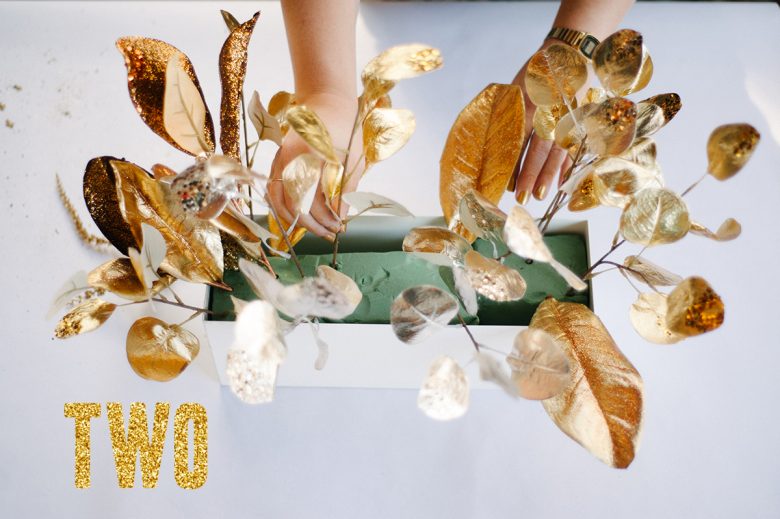
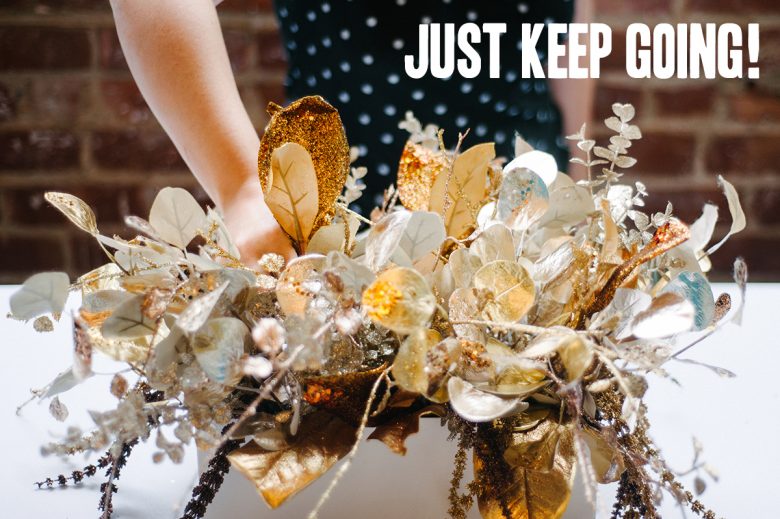
To start, you’ll need a receptacle. (We used a simple white box we picked up at Ikea, but you can use anything from baskets to vases to whatever else goes with your wedding decor. I’m particularly fond of these guys.) Next, place a floral foam block inside the receptacle, then begin arranging. Start by taking whatever flowers you want to serve as your focal point and placing them in the center of the foam block, cutting the stems to your desired height. Don’t worry about making these flowers symmetrical or even—floral arrangements look better when they’re just a bit “off” (if you want more specific direction that that, do an even/odds placement. Put two flowers close to each other on one side of the foam block, and a single flower on the other side to balance them.) Next add any dangling or hanging flowers around the edges, and fill in the gaps with your remaining flowers and filler, using the same even/odds method mentioned above. The best part about working with fake flowers (other than being able to do this forever in advance of your wedding) is that they are all but indestructible, so you can practice until you get a good system down without worrying about destroying half your supplies. That said, this isn’t a cheap centerpiece (well, maybe in a Dolly Parton “It takes a lot of money to look this cheap” kind of way). But it is a set-it-and-forget-it project, and one that you can do over a long period of time (and with multiple 40% off coupons for Michael’s).
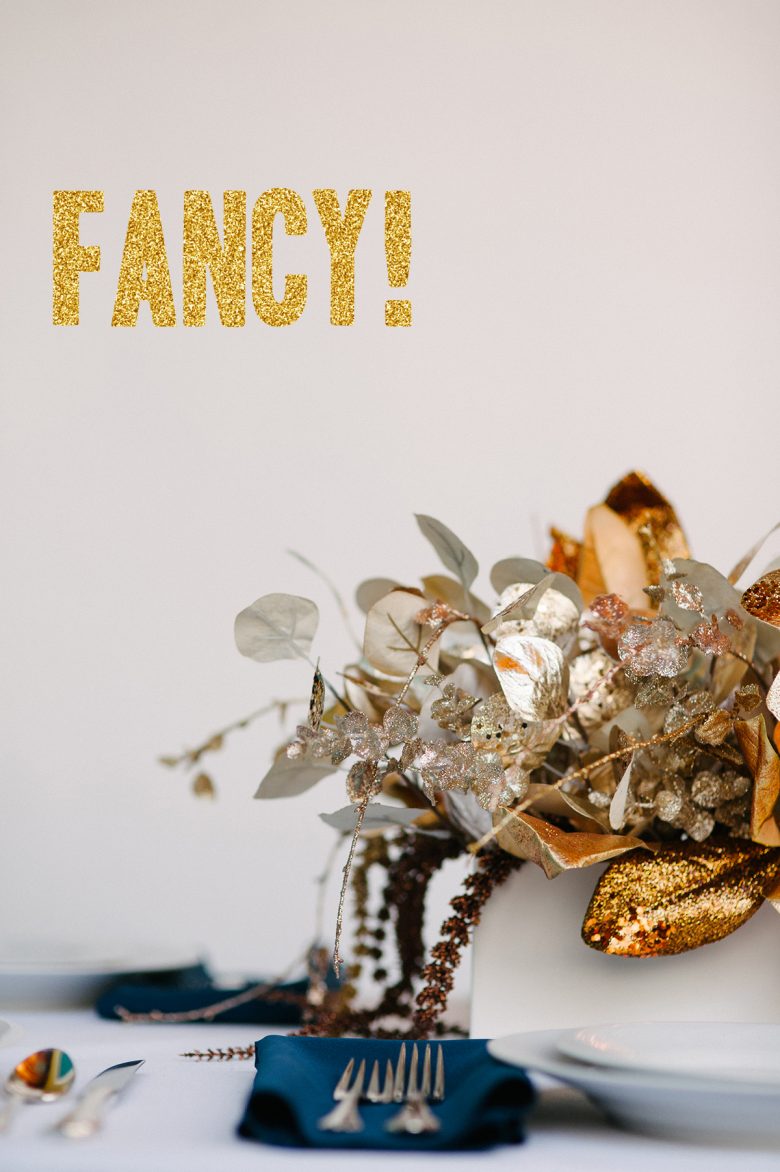
This project is so glittery and marvelous it’s made a permanent home in my office. Partly because it’s so glittery and marvelous that it isn’t allowed in any other room in the house. But I’m not splitting hairs.