I need to preface this post by saying that I love paper.
When I was a kid, I would go to the bookstore and spend my allowance on nice journals even though I rarely wrote in them. I used to sit in the library and read quietly, deeply inhaling that musty-old-book smell. I was that kid who EAGERLY AWAITED back-to school shopping so that I could go home, unwrap everything, and neatly equip all my school binders. If you already think I’m nutzo, you probably don’t want to attempt any of the following. Like most other wedding DIY guides, this post should have an ONLY IF YOU REALLY LOVE IT warning sticker slapped on it. (Editor’s note: And oh, hey! Look! We already do!)
When I got engaged, I began my investigation into wedding stationery and found that letterpress was considered to be the Best of Wedding Paper (Editor’s note: Though as discussed earlier this week, Letterpress isn’t Jesus, and it’s not what your grandma thinks is fancy, though it is an art form). It’s one of those things I had never heard of before I planned my wedding, like charger plates and chiavari chairs. The portfolios of letterpress studios were absolutely breathtaking. I immediately knew that was what I wanted, but I felt ashamed when the indie wedding world accused, “Why would you spend so much money on something that people will just throw away?” I didn’t have a suitable answer for them, and it was no matter because I didn’t have five grand to drop on paper goods anyway.
I started resigning myself to Kinko’s when somehow, I learned that my school, Dartmouth College, had its own letterpress studio in the basement of the library. The best part? All students and members of the community were granted access to the studio, its instructors, and its materials FOR FREE.
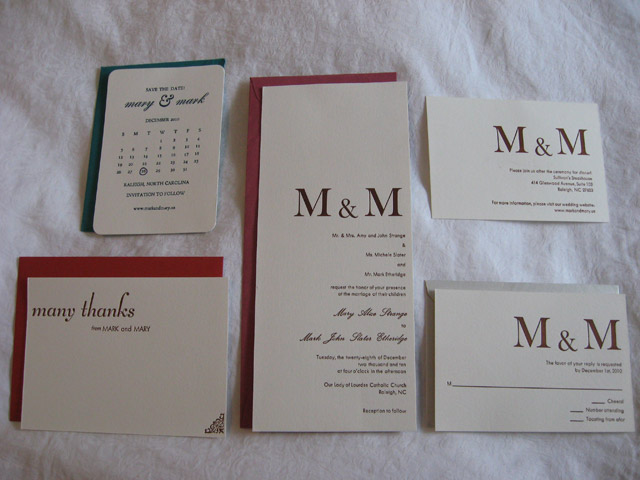
So in short, I spent several weeks, when I had the time, going to the studio each evening after classes and spending three hours at a time designing, typesetting, and pressing 100 save-the-dates, invitations, reception cards (which I ended up redoing since our reception site changed over the summer), response cards, and thank-you notes. I would leave the studio with my feet aching, my fingertips dry, gritty, and splotched, but feeling like I had accomplished something superb.
A true step-by-step post probably wouldn’t be productive for two big reasons; first, I didn’t take step-by-step pictures while I was doing my pressing (and you really need visuals to explain this), and second, because it’s a rather technical process and I don’t want to bore you all. So instead, I’m just going to give you the gist of the process and several pointers and takeaways:
Gist:
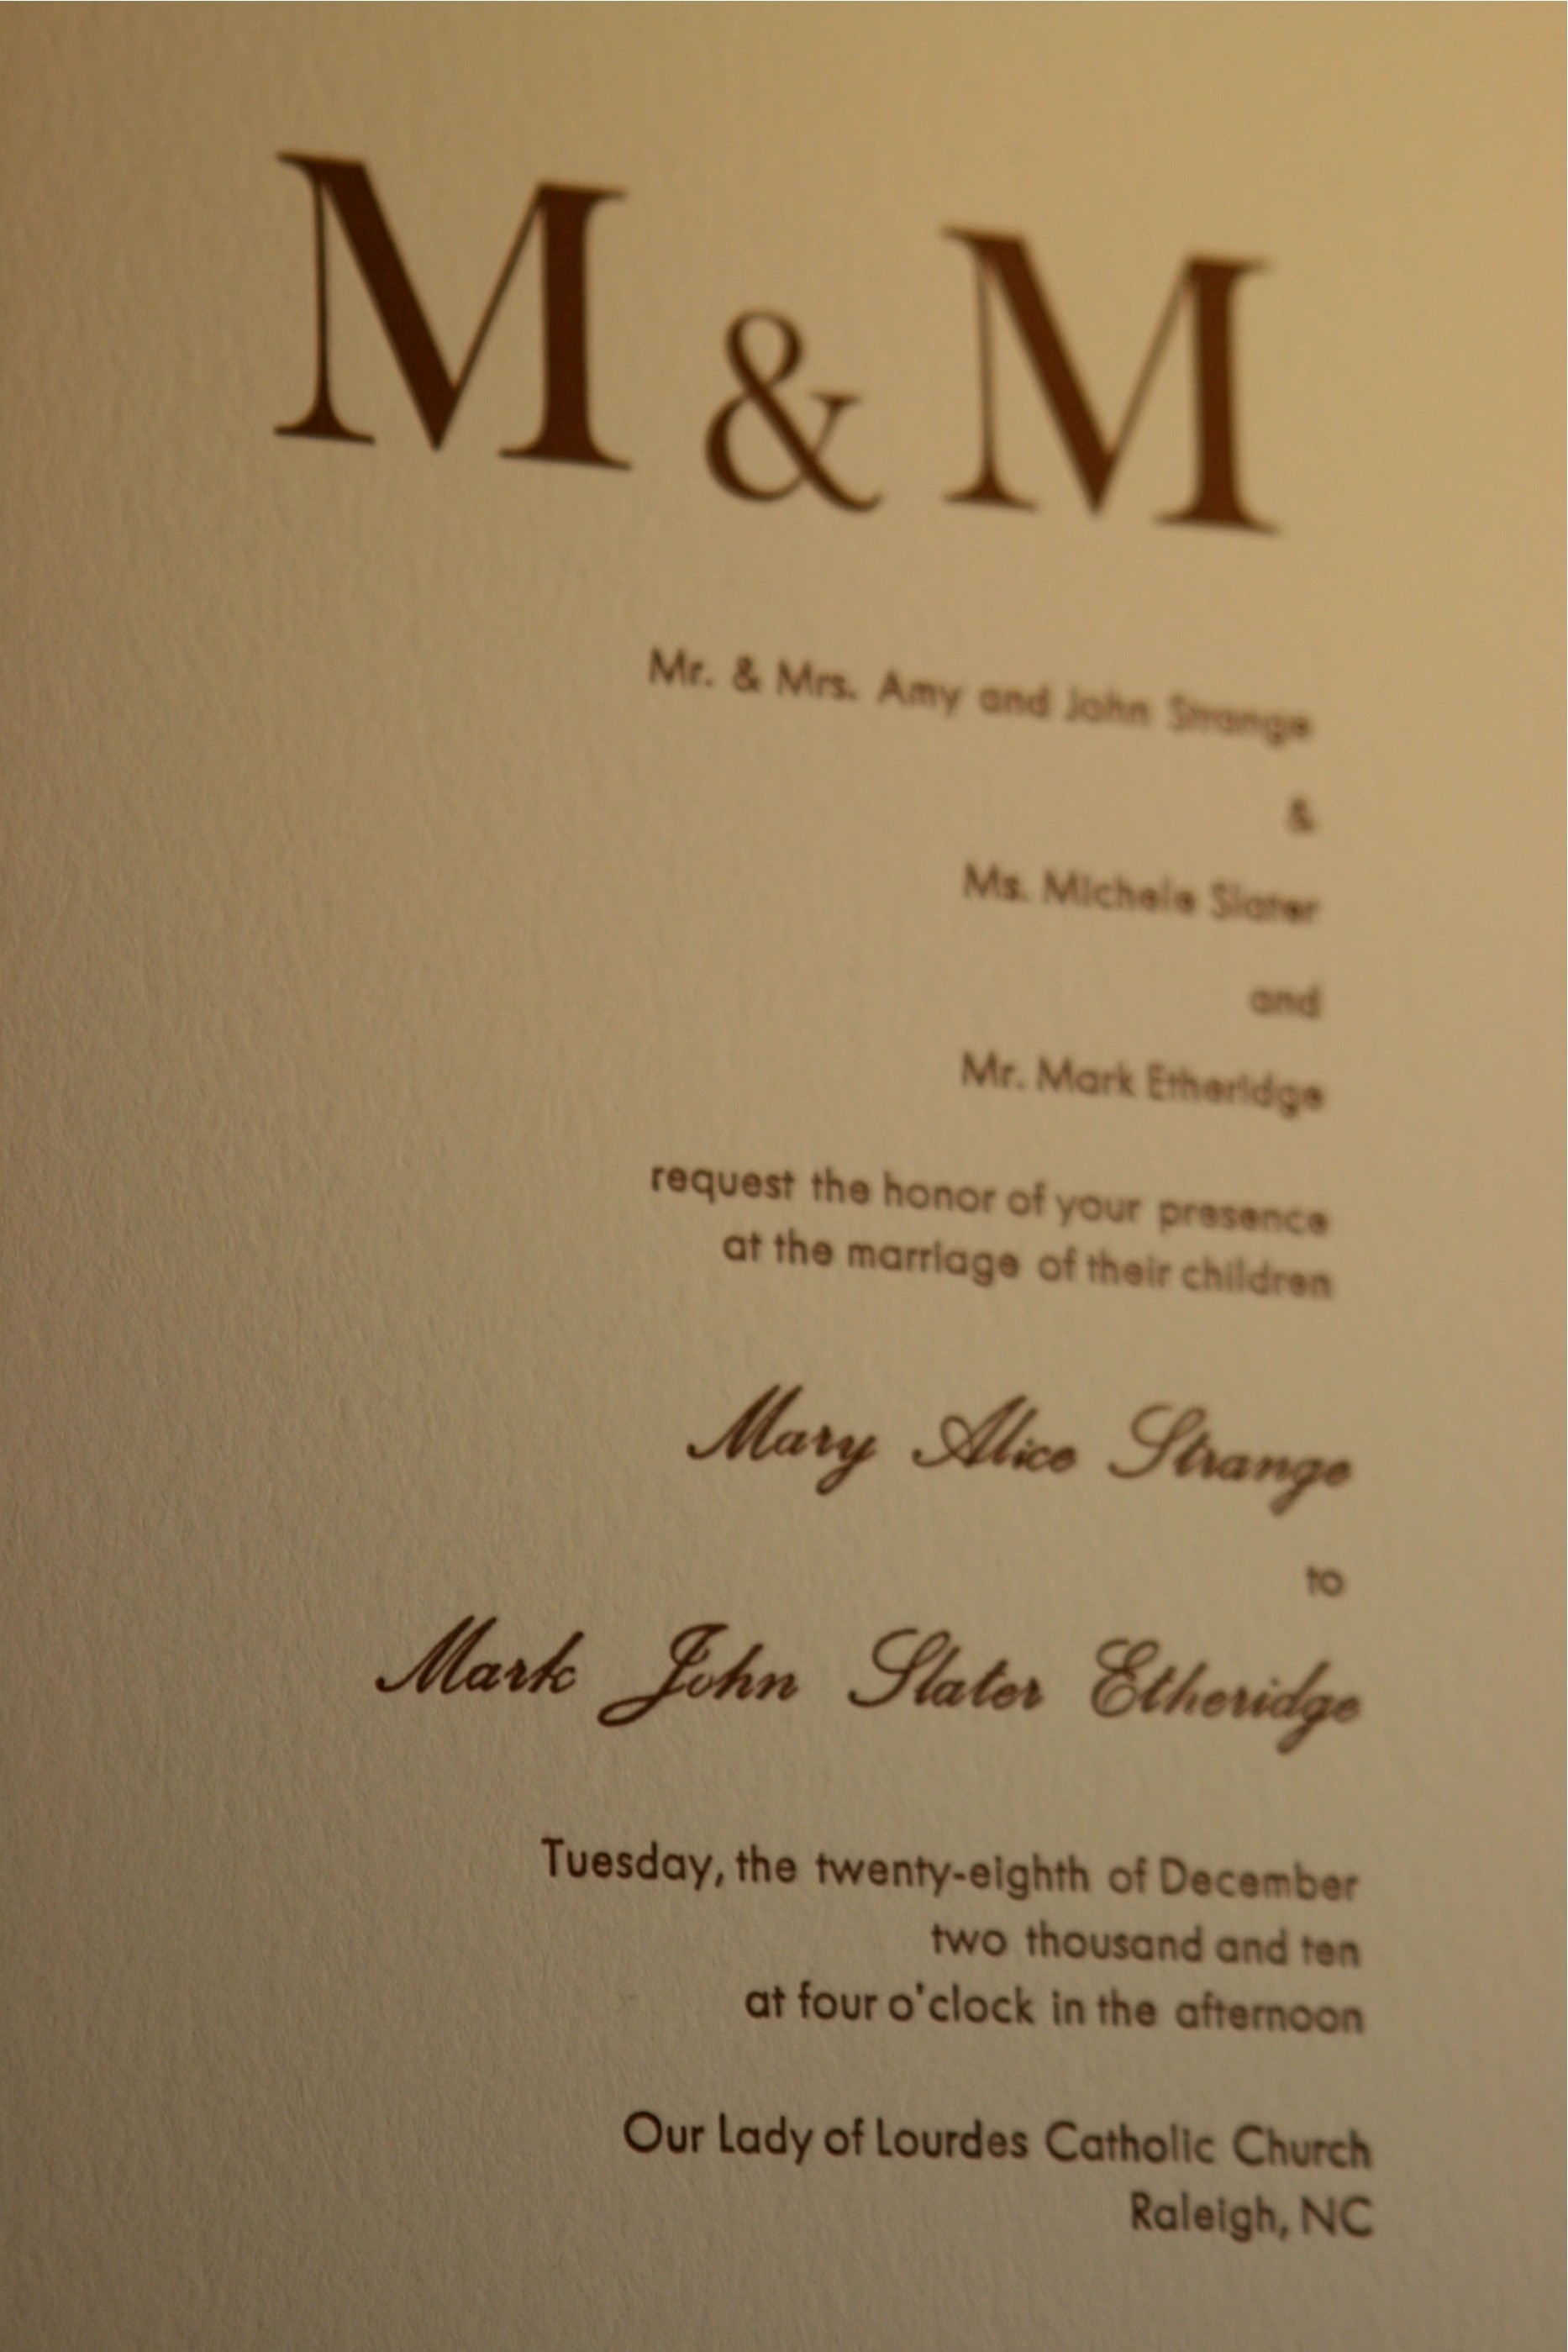
- The first step in letterpressing is setting the type. You need very good eyes and a sh*t-ton of patience for this. In most studios, type is organized in drawers, letter by letter. A single piece of type is basically a block of lead with a raised letter on it, so that it can make an impression on the paper. You pick out each letter at a time and spell every word of your invitation. The type can be very big or very small. We used a 10 pt. font for most of our invitation and each piece of type was probably no bigger than the length of my thumbnail. Once you have everything spelled out and organized the way you want it (centered, aligned, etc) you have to use very small slivers of lead to get the type very tight within the form (a rectangular frame that holds the type in place). If some of the letters are the least bit wobbly and there is any space between them, once the press hits the type to ink it, your typeset can shatter and letters will go everywhere. Typesetting is the biggest pain in the ass during the whole process and it easily takes the longest time.

- Inking the press. Letterpress ink is very thick and tacky. At my studio, they had color swatches to choose from, and instructions on how to mix your desired ink color from the available base colors. Once you mix it thoroughly, you ink the press. Presses are all different. Some run on electricity; most of the ones I used had foot-cranks. They are often mechanically complex. Essentially, a roller spreads the ink out evenly over your type so you are ready to make an impression.
- Printing. Again, all presses are different, but essentially, you place your paper onto the press and it will make the impression on the paper. This is easily the quickest part of the process; it only takes a few seconds to make one impression. Most any paper will work, but if you really want that deep inverse-braille run-your-hands-along-it impression, I would recommend something thicker. I used Crane’s Lettra paper and it turned out beautifully.
Pointers and Takeaways:
- You may have come across small personal “letterpress” machines available to purchase online. I can’t recommend or not recommend these, but honestly I would look up classes in your area first. These machines can get to be several hundred dollars and really, how often will you use it after the wedding? Also, these machines may be limited in the variety of fonts and type sizes that are included. I’d first recommend researching colleges in your area for book arts classes. I got lucky when I found out mine was free, and I’m sure it’s not the only one of its kind. (These book arts departments may also offer classes in book binding. HINT: wedding albums!) If you can’t find any in your area, try finding smaller letterpress studios. They may be willing to provide instruction, and the thing about letterpress is that you really need an instructor. I did so many projects at the studio and every time I needed to ask someone for help.
- Enlist your partner’s help, even if they can’t bring themselves to care about invitations. My husband would probably have been cool with e-vites. But he loves making things and he loves working with his hands, so he ended up getting as excited about letterpress as I did. (It helps if you let them use the big press. Big presses make you feel bad*ss.)
- The time commitment can be great, depending on how many projects you want to tackle. If I had to estimate, for my invitations alone (not including the response or reception cards), I probably spent about 7-8 hours designing, typesetting, printing, and cleaning up.
- Go into the studio with some idea of what you want. This took me forever. At my studio, they had a book with all of their different available types and all of their different pictures and flourishes. I was not very good at taking these disjointed pieces of information and putting them together in my head to create my own design. Plus there are SO many different options (formalities; different sizes; different alignments) that they just made my head spin. In short, I ended up copying designs that I saw online and really liked. My save-the-dates, for example, were a design I had coveted online that would have cost around $200 for 100 flat-printed. I pressed them myself for a fraction of my $50 ream of paper.
- Letterpressing things yourself feels organic. When you order letterpressed invitations from a large commercial studio, it’s often not pieces of type painstakingly fit together, but a solid metal plate that was created from an electronic template. And don’t misunderstand me; there’s nothing wrong with that. (Editors note: Not only is there nothing wrong with that, sometimes it’s very necessary. Meg letterpressed their invites, and they had Hebrew on them, so they needed to be created with a template.) It achieves the same results in a much smaller amount of time. But there’s just something about the typesetting experience; the musty smell, the gritty type, the ink stains on your fingers. It feels like you fought for it. And it feels really good.


