Kelly Wilkinson us an excellent crafter who writes at Make Grow Gather. She has a soft spot in her heart for us lazy girls, too. So I’m thrilled to announce that she has a book out called, Weekend Handmade, which is full of beautifully styled super easy projects, perfect for your kind-of-lazy-DIY-ish-wedding. Kelly has created a whole step-by-step tutorial just for us for making easy (seriously, I could do them, and I’m not a crafter) luminarias. She makes them with greenery, but you could clearly go crazy on design choices here. Here is Kelly:

I promise, you don’t need to think of yourself as crafty to whip up these lanterns. If you know how to measure, cut, and iron, you can make these. And you should! The most time consuming part is collecting flowers and greenery to press and waiting until they dry nice and flat. Once the lanterns are made, they give off a soft, gauzy light from the fused waxed paper.
Materials:
- Flowers and greenery
- Heavy book
- Paper towels
- Waxed paper
- Ruler
- Craft knife (like an X-Acto)
- Cutting board or self-healing cutting mat
- Iron
- Ironing board or cloth for pressing
- Washi tape (I buy mine here)
Press Flowers and Greenery
1. Collect leaves, flowers and foliage, keeping in mind that delicate, thin leaves and petals will dry faster than thicker specimens. Put flowers, etc. in between two paper towels and place inside a heavy book to dry.

Measure and Cut Waxed Paper
2. Measure and cut four 4 ½ x 9 inch rectangles. You can adjust and make these any size you want, but I’m partial to a nice-sized cube, which makes the math easy. If you adjust, cut the rectangles twice as long as they are high, so they fold into a square.

Make Panels
3. Fold the waxed paper rectangle in half to make a square. Open square, place flower or greenery inside. (photo #2) Close the square so the flower is sandwiched between the two layers of waxed paper.

4. Working on an ironing board or on top of a cloth, pass an iron set to medium quickly over the waxed paper to seal. This will fuse the two layers together. Repeat until you have four finished square panels.
Assemble Lanterns
5. Lay two panels side-by-side with the edges touching. Orient the panels so the side you want to be the front of the lantern faces you (not facing the table). Cut a length of tape about an inch longer than the panel. Center the tape over where the panels meet and press in place.

6. Flip panel over and press the extra tape to the wrong side. “Hinge” panels together and run your finger along the tape to make a sharp crease. Continue joining the panels together until all four panels are taped into a cube.

7. Set candle (inside of a glass votive) or LED tealight inside the luminaria and enjoy!

Weekend Handmade by Kelly Wilkinson includes more than 40 projects and ideas for inspired crafting, and I think you should get it. I will be getting it. It’s even published by STC Craft, where one of my bridal brigade ladies was an editor for years. Photographs by Thayer Allyson Gowdy. Available at bookstores and online, or signed copies are available at Kelly’s blog Make Grow Gather.
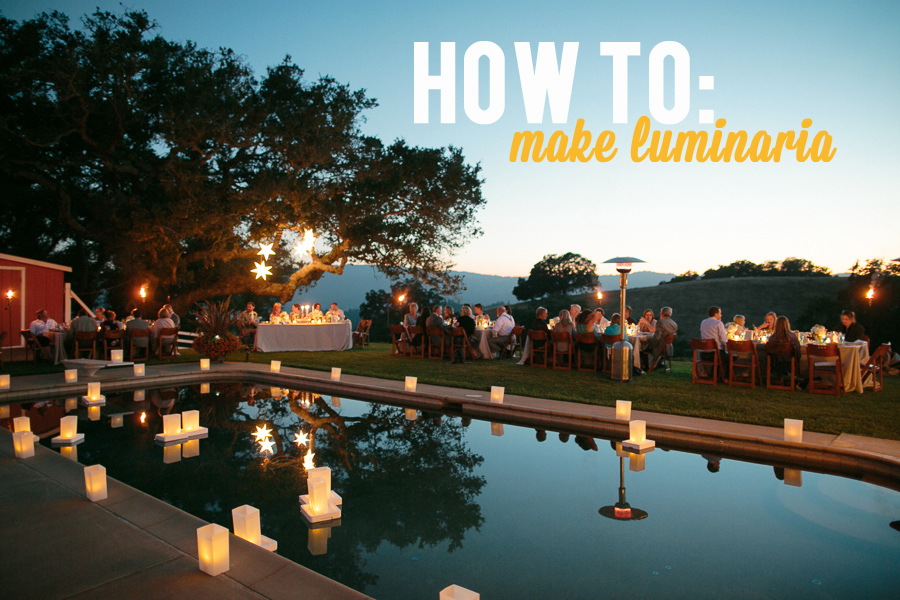
Intro photo by Emily Takes Photos.

