You may have noticed that at APW, we prefer to focus on large-scale wedding tutorials. Big backdrops. Batch cocktails. High-impact (and low-effort) centerpieces. That’s because there’s nothing worse than seeing a beautiful piece of wedding decor (probably made by a professional wedding stylist for a styled shoot) and then trying to replicate it for 125 people, only to realize that doing so would take an entire month of your life, provided that you didn’t stop for food or bathroom breaks (if you want sleep, make it two months).
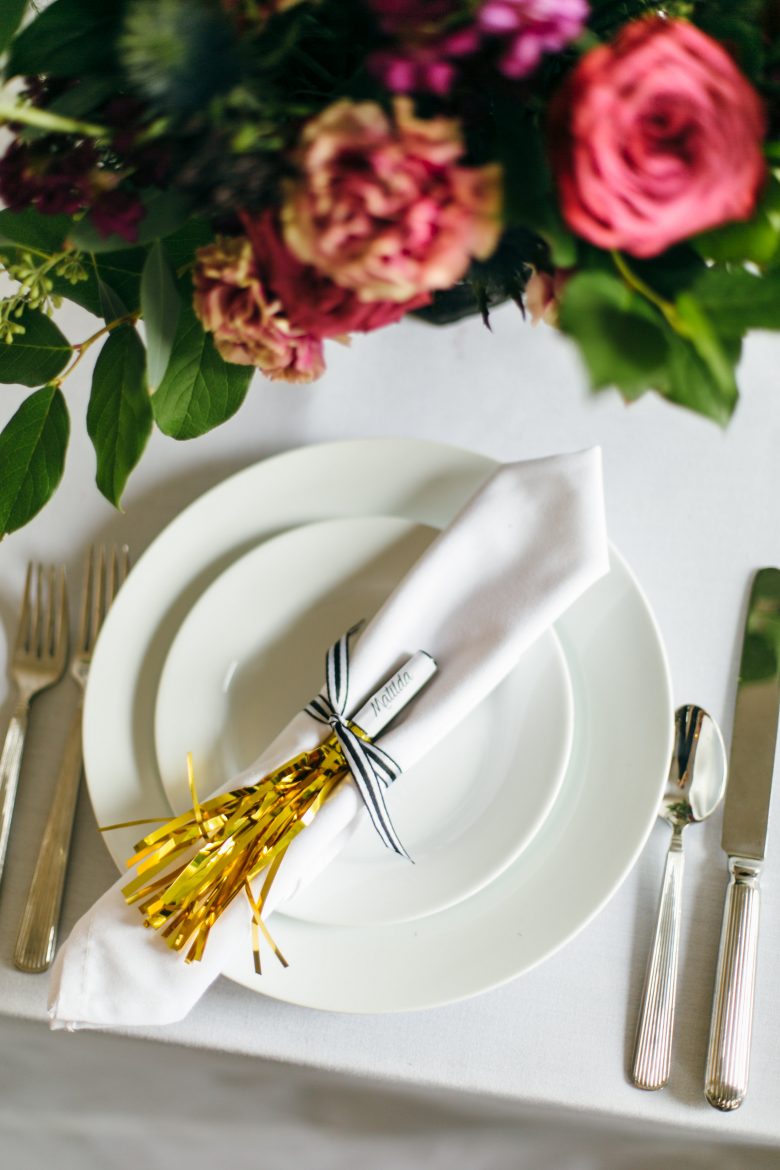
So for this tutorial, we tapped our favorite New York wedding designer, Michelle Edgemont, to help us put together a set of metallic fringe place cards that won’t take two months to make. Maybe not even two hours. Since Michelle specializes in using creative (read: affordable) materials for wedding decor, instead of toiling for hours creating handmade fringe, for this tutorial you’re just going to grab some noisemakers at your local party store’s post-New Year’s Eve sale (though obviously this isn’t just for New Year’s weddings. Consider it our take on the hip black tie affair.) If you’re planning the kind of wedding where it’s important that people know exactly where they are sitting, place cards (combined with a seating chart) are essential for showing folks exactly where to go. (Have complicated family dynamics? This is one way to smooth over those awkward “Is this seat taken?” moments.)
Bonus: This place card doubles as both a place card and a noisemaker, so your guests can whoop and cheer when you enter the room.
Here’s what you’ll need:
- Gold fringe noise makers
- Ribbon
- Avery sticker labels
- Font: Young & Beautiful (free font, for an exact match to our text)

Steps:
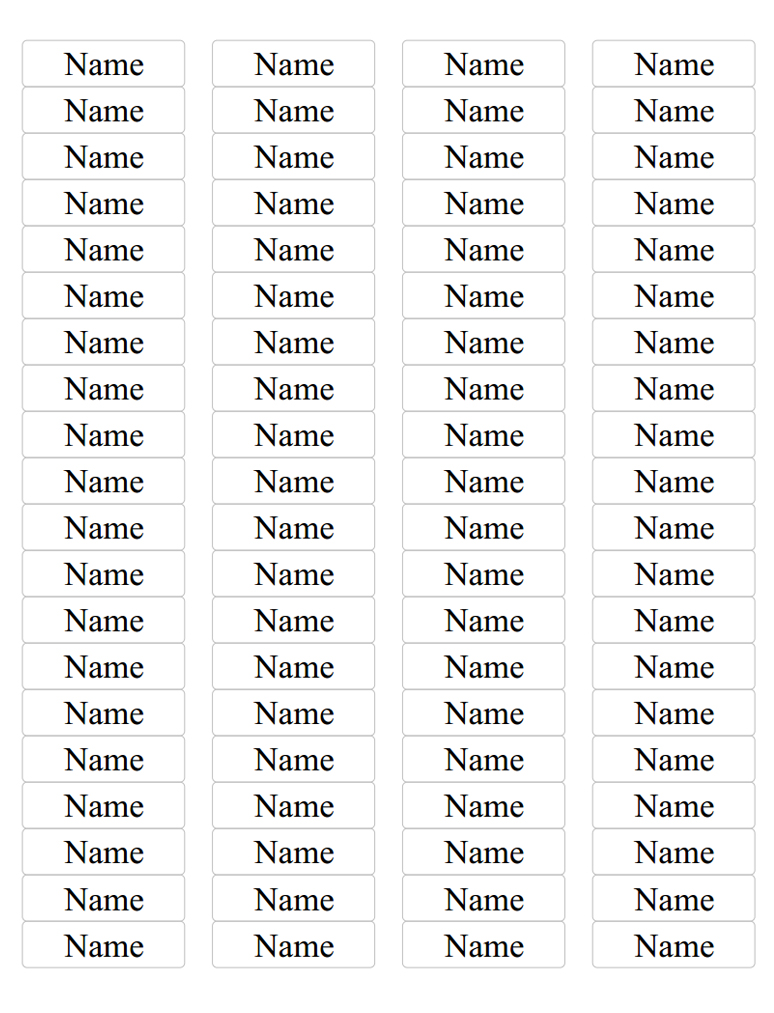
1. Before you get started, print out your guests’ names on Avery return address labels. To make it easy, we’ve included a printable version below. Just download the file and insert your guests’ names in the allotted spaces. If you want your labels to look just like ours, download the font Young and Beautiful (it’s free, and you can get it right here) and install it on your computer before opening up the document in Word. (There’s a one-click option for installing the font, so don’t worry about it being too complicated.)
2. Set aside your labels, then grab a napkin. Fold your napkin in half and then in half again, so that it makes a square. Then rotate the napkin so that the pointed edges are facing you, like a diamond. Fold one side in towards the center, then fold the other side in towards the center, and finally, fold your napkin in half.
3. Tie ribbon tightly around napkin. If you want to save yourself some time, or if you have some helpers, do this process once and measure how long your ribbon needs to be. Then cut the rest of your ribbon to the length, and you can create a mini-assembly line for the rest of your place settings (fold station, tie station, sticker station). Next, affix the labels to your tassels.
4. And last but not least, place the tassel underneath the ribbon inside the napkin crease.


