I remember when I was getting married back in 2009 and had this crazy decor idea that involved a million yards of ribbon. Guess what? Ribbon is affordable to wrap a gift in, but it is definitely not affordable when you need to purchase enough to make a large impact in a large space. My crazy ribbon wedding decoration idea didn’t happen because I did not have a million dollars and I had yet to learn the magic of flagging tape.
You are probably all, “What the heck is flagging tape?” I was too. If you live in NYC, it’s the pink stuff that they use to rope off the subway when it’s not in service. It’s also used in construction sites and to close off crime scenes. Since we aren’t marking the foundation for a building or keeping onlookers out of the evidence, we are going to use it for decor. It’s the industry’s best-kept secret when it comes to affordable ribbon wedding decoration. And you are all now in the circle of trust. While you can probably scrounge up some coupons and grab spools of ribbons at Michael’s for around $1 a yard, flagging tape is $.02 a yard. Two freakin’ tiny cents.
Flagging tape is not technically ribbon nor tape. It’s made of plastic, easily wrinkles, is not sticky, and although it comes in a variety of colors/stripes/polka dots, it’s not available in every color under the rainbow. When using flagging tape I like to keep things simple. Black, white, striped, and polka dots are my go-to choices. I buy mine on tapebrothers.com. Yes, that’s a whole online store completely dedicated to thousands of kinds of tape. You can thank me later.
Here are my top few ways to use flagging tape in your wedding decor. There are much, much more complicated and dramatic ways to decorate with flagging tape, which I’m not going to get into here. Say you want your ceiling covered in yards and yards of the stuff? Please leave that to professionals. If you are familiar with cherry pickers and twenty-foot ladders and support beams, be my guest and cover your whole venue in it.
If not, google “flagging tape decor,” pin the shit out of some of those amazing images, send them to me (or your local event designer) and I’ll make it happen for you. This post is all about practical, fast, and easy ways to incorporate this magical supply into your decor as a replacement for ribbon, thus saving you big bucks. The following images are from weddings where my clients wanted a lot of ribbon decor. To save them money, we went with flagging tape and got the same effect.
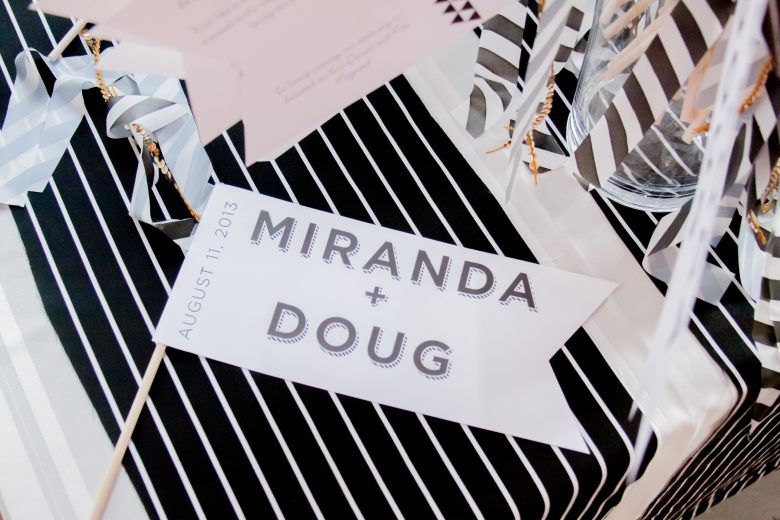
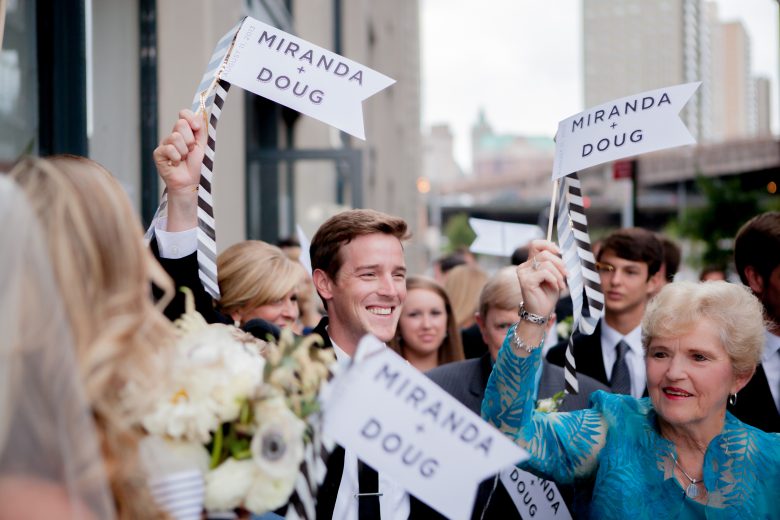
1. Ceremony Program Flags: Attach a few strands, mixed with a strand of sequins (because, DUH, sequins), to your ceremony program flags. Miranda and Doug led their guests to their reception by way of parade, which was perfect for each guest to wave a whimsical flag.
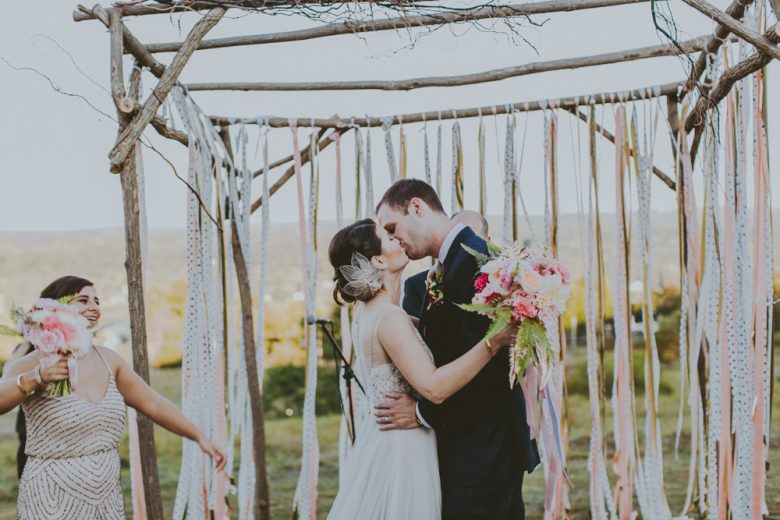
2. Cover a Ceremony Structure in it: Decorate the sides of a chuppah or mandap with strands of flagging tape. Mix in a few strands of more expensive, wider, fabric ribbon to create a nice mix of textures. Don’t make yourself crazy tying them all on one at a time. Make a group of five strands of flagging tape twice as long as you want, like sixteen feet long for an eight-foot tall chuppah. Fold them in half over the top bar of the structure and tie. Keep tying on groups of five strands until the whole structure is covered.
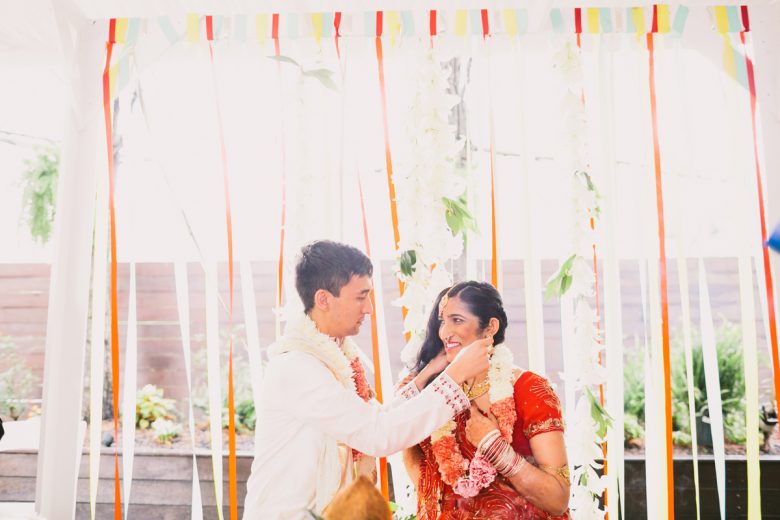
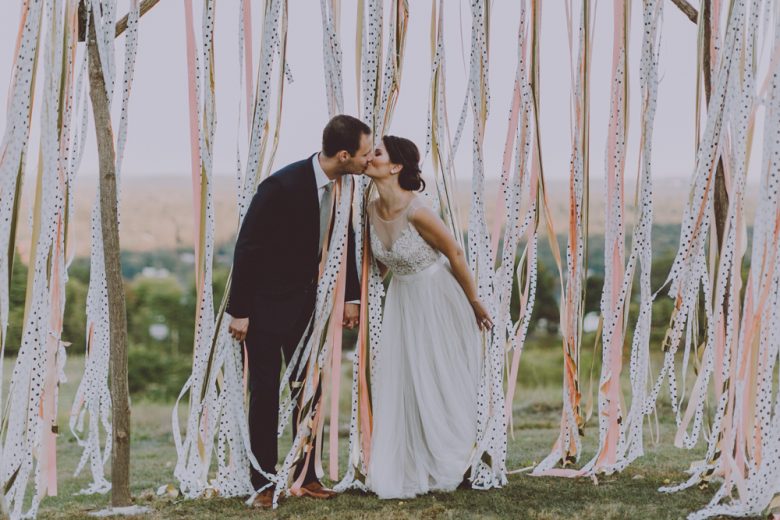
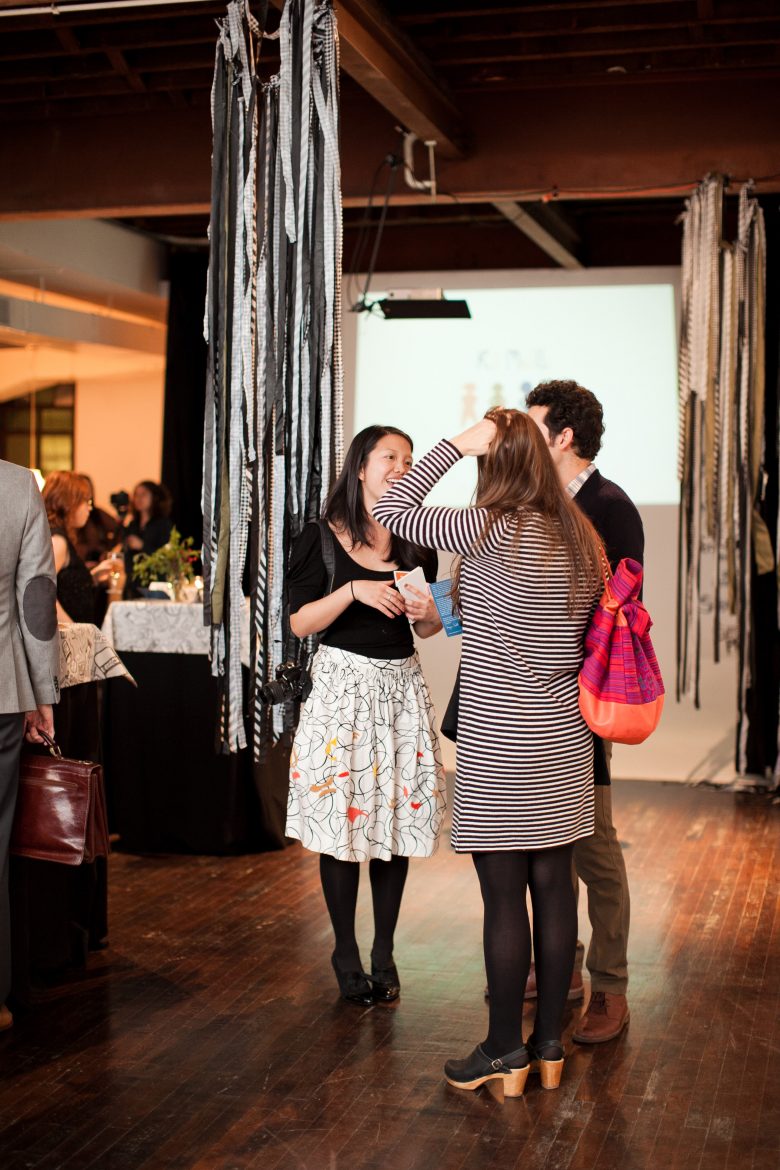
Create a Curtai3.n: Using a pipe frame, tie the flagging tape to the top bar. Tie half to the left bar and half to the right. Use as a pretty ceremony backdrop. I used some hand made paper flowers to cover the top bar as well.
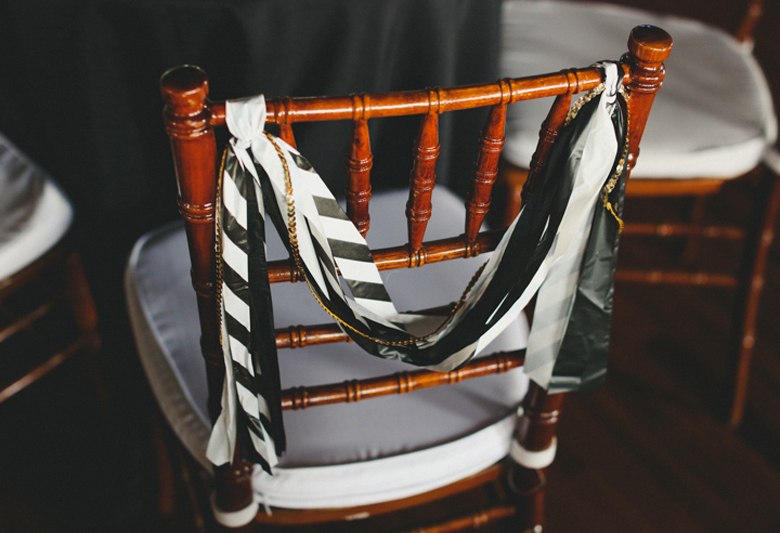
Back of Chairs:4. This one takes some time and some labor, but each chair decorated with a few strands of flagging tape is a fun way to add some pops of color. Or, just do your chairs. Cover the whole back of your chairs with tons of flagging tape. That would look awesome.
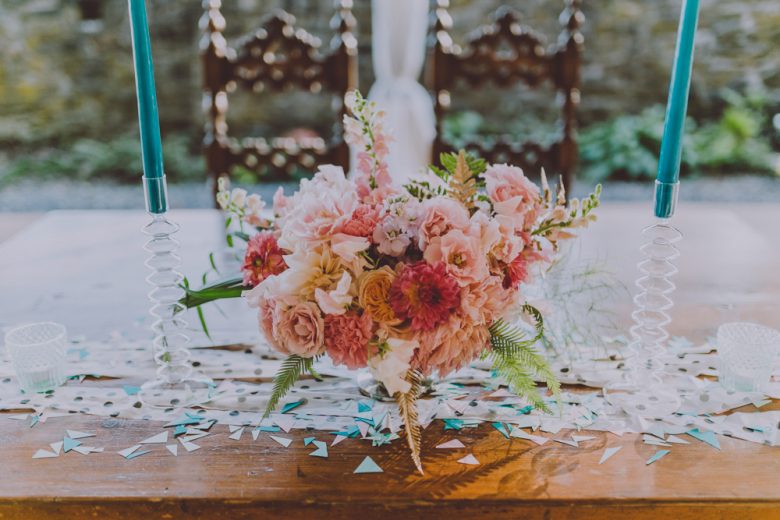
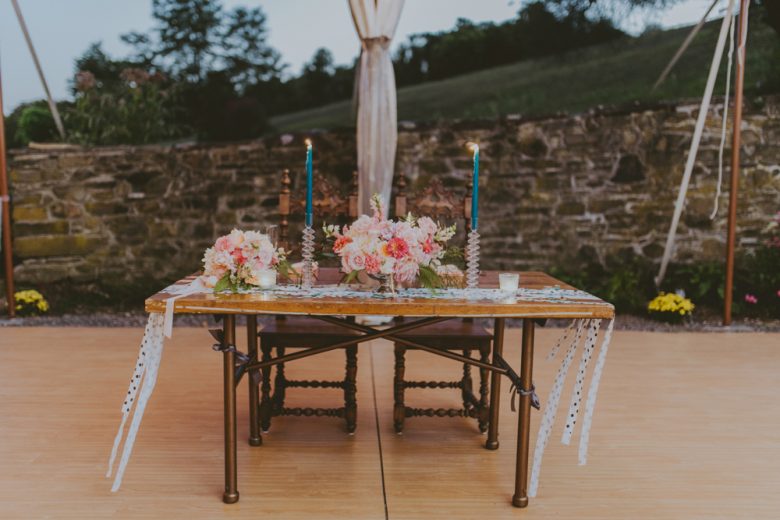
5. Create Table Runners: Seriously, so easy. Take a few rolls of flagging tape and run it down your tables. Cut. This would look amazing with multi-colors of tape all layered on top of each other. To do this super fast, put five rolls of flagging tape onto a PVC pipe. Have one person hold the ends of the tape at one end of the tape. The other person pulls the PVC pipe with the tape rolls on it all the way down the table. Cut. Do the next one.
6. Hanging Chandeliers: Grab a few embroidery hoops. Tie long strands of flagging tape all around them. Hang from the ceiling.
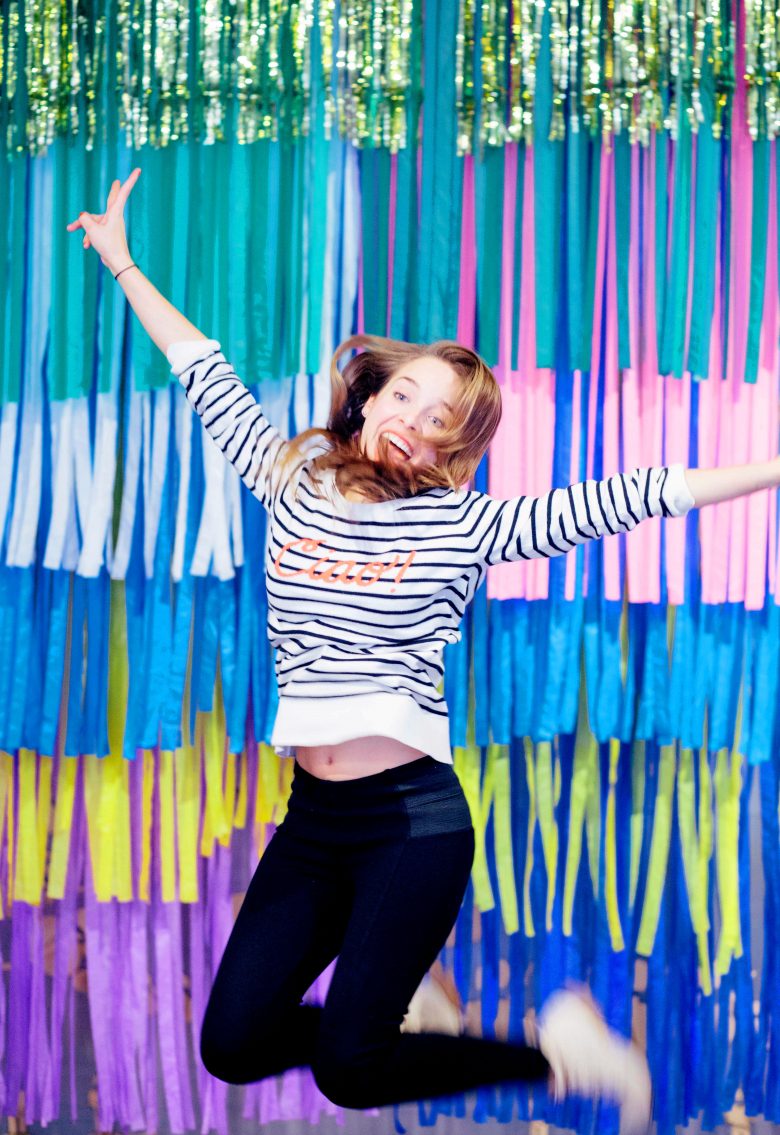
Flagging Tape Back7.drop: There are two simple versions of this backdrop. The beginner-friendly version starts with a rod or dowel cut to the length of your backdrop. Measure the flagging tape to the appropriate length and add two inches to account for a knot. Cut as many pieces as you need to create the desired pattern. The flagging tape can either be evenly spaced or bunched closely together. If you’re looking to achieve a consistent solid stripe, plan for at least twenty pieces of each color. Hang the dowels above the line of the camera, so the knots are out of the picture.
The more advanced version uses a heavy gauge chicken wire instead of a dowel to create rows of layered fringe. The depth of the chicken wire will depend on how many rows you want to use. Cut to the desired dimensions. Start at the back (longest) pieces and work your way to the front. Changing the length by at least a foot between rows will make a big impact. Each square gets one piece of flagging tape tied to it. Layer different colors or create visual interest by cutting the layers at different angles. Mount it flat against a wall, or suspend it from the ceiling. (Styling by Michelle Bablo.)
8. Flagging Tape Swag: The swag uses the same technique as the above “advanced” backdrop. Except to create the shape of the installation you use a thin-gauge chicken wire that will bend easily when hung. This result is very similar to the swags of The Color Condition. Design-wise, there are so many possibilities. You can make multiple swags, hang them at different heights or even crisscross them. (Styling by Michelle Bablo.)

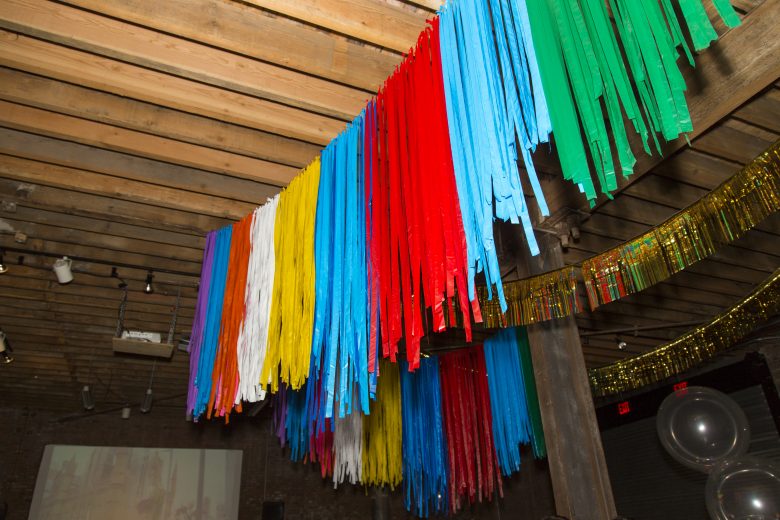
9. Flagging Tape Ribbon Installation: This technique is similar to the simple backdrop, except used as a ceiling installation. You need two dowels for each end of the ribbon, plus a strong tape (like gaffing) to secure the ribbon to the dowel once it’s tied. The trickiest part of this one is getting the measurements correct for the length. Whatever the length of the area you’re covering, multiply it by one and a half. This will give you a nice dip in the ribbon once it’s hung. Make sure you secure the flagging tape to one end and then keep it flat (untwisted) as you connect it to the other. This obviously gets more challenging, the longer the area you’re covering. (Styling by Michelle Bablo.)
I hope you are as excited about flagging tape as I was about Gilmore Girls on Netflix. Before you start your amazing project, figure out how much flagging tape you need buy. Then buy twenty percent more than that. It’s cheap, and the last thing you want is not having enough.

