
This year has been a parade of wild. Am I right? Back in the ‘old world’ of January and February, I was daydreaming about updating my personal brand website, and a ton of other business goals and dreams. Then March hit. We all know that story. The APW team and I buckled up, put on our thinking caps, and dove into some projects we’d already been developing, and some that were born out of pandemic necessity.
And honestly, I can’t say I’m done with that now. I can’t even say it’s all been sorted out and figured and now I know exactly what I’m doing. But I can say that I got started, which is half the battle. Because getting started means that you have a rough draft that you can change (and change and change) as you figure things out. And in the world of 2020, for most of us, one of the easiest ways of getting started means a new website.
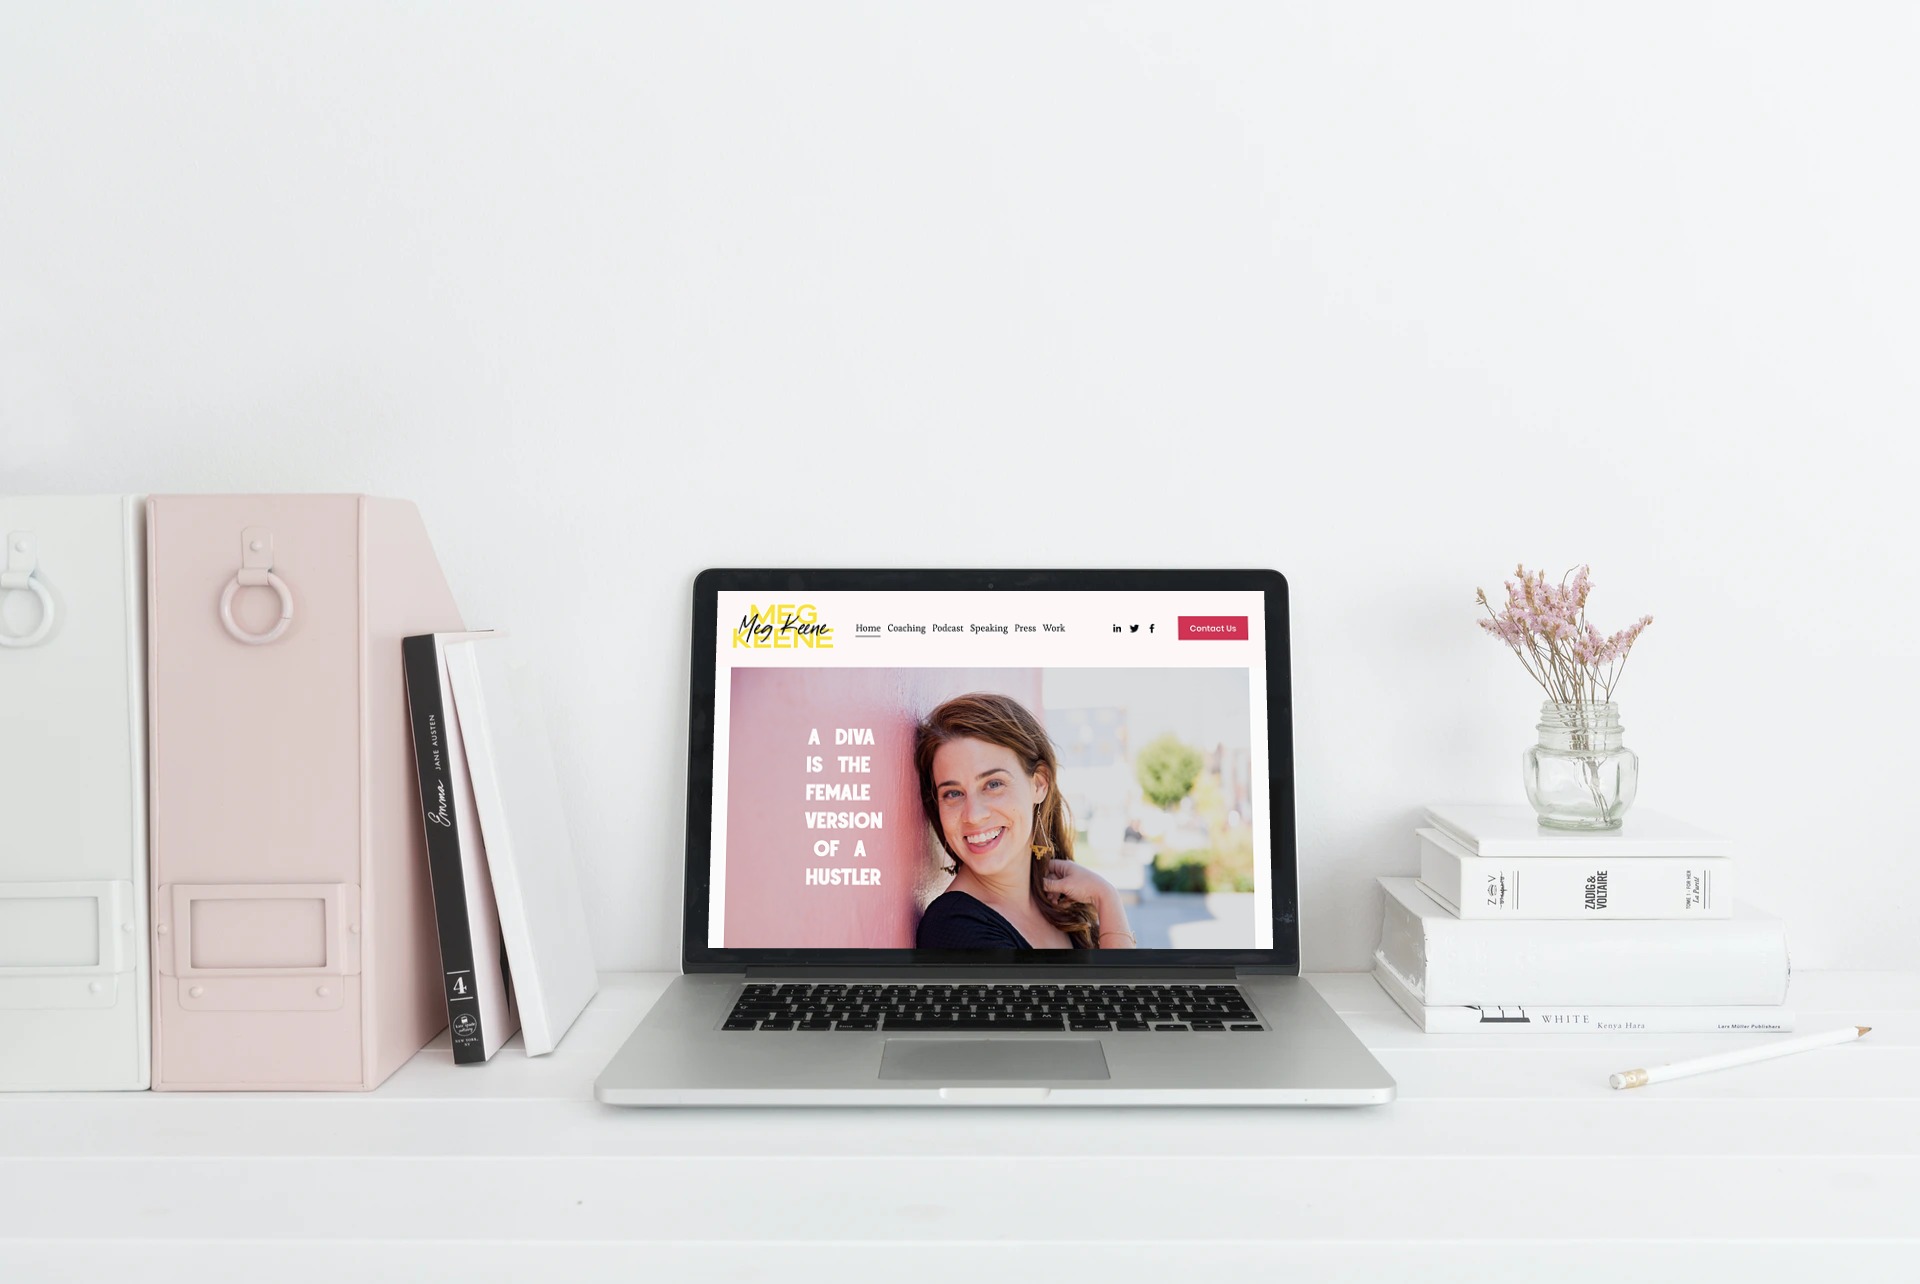
So let’s rewind to the weeks I spent at the end of March and beginning of April, birthing a brand new MegKeene.com into the world. And that came after we swiftly launched HotlineRing.com. And it’s funny, because even a year or so ago I would have told you that I knew how to publish a website (you know, this one) but I didn’t know how to make a good looking website. But like so many limiting beliefs, I fully threw that out the door in 2020, and now I’m forcing my website making skills on almost everyone I know. (Want advice on your website? Hit me up in the comments.)
All of this is because our partnership with Squarespace has given me so many opportunities to build and refine websites, and frankly, it’s become a source of joy to learn something new, each time.
Build it and they will come
In April, I shared about how I decided to layout the site and focus on my new business offering of business coaching. And ya’ll, I have been actually doing the work. I’m not sure this is the final work I’m going to do, but I’ve started. I’m digging in, and I’m figuring it out.
I launched my website in April, and since then have been actively working with womxn business owners on their brands, their websites, and more. I’ve done SEO coaching. I’ve done 1:1 coaching. I’m leading two monthly accountability groups. And I just signed my first long term client who’s come to me to help give her guidance and accountability on a creative project… which is wild, because that’s what I majored in (well… experimental theater, that is…. hello, creative projects), and I never ever thought it would be something I was hired to do.
So in a way, it’s been a dream I didn’t dare to have come true. Group coaching and accountability groups bring me so much joy, and in the time of quarantine, it has been a treat to connect with like-minded womxn in this way. (Plus, I’m very quickly starting to write about the process… because that’s… what I do… and am planning some new product launches. You can sign up at MegKeene.com to hear about them when they launch… because yup, Squarespace offers easy email sign up and email functionality as well.)
And while working with these groups has been the best part by far, building the website and putting it out in the world has been fun too. And frankly, it’s made me better able to advise womxn on what they need to do to get their own brands and businesses in gear.
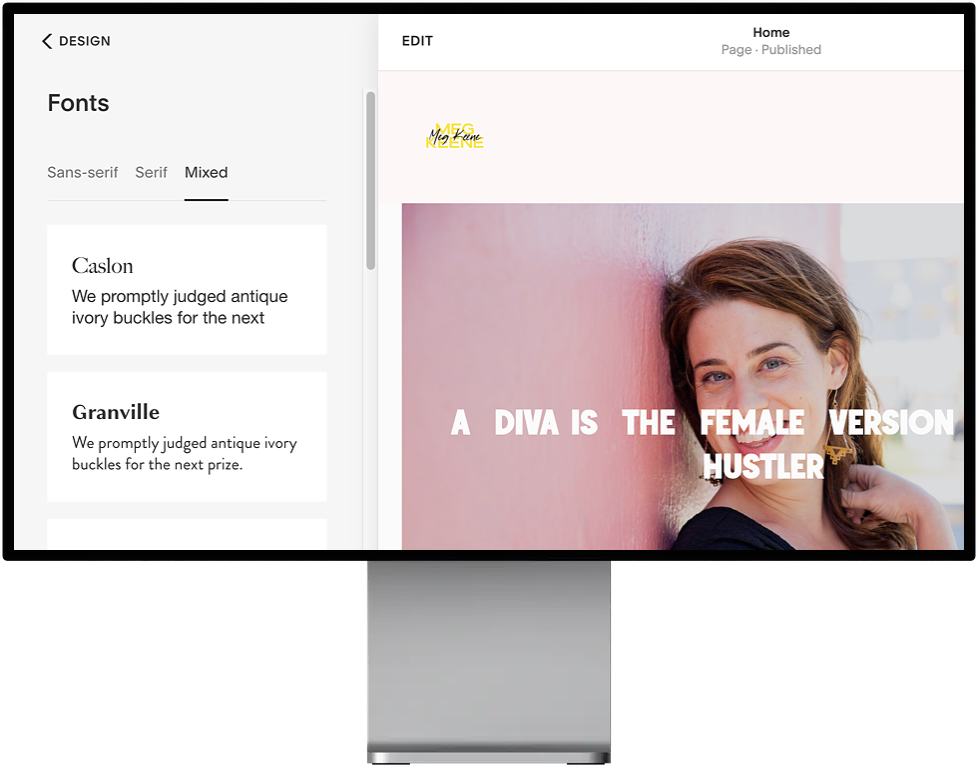
Last month I spilled every last secret I could about choosing and implementing custom colors into your website. If you haven’t already, I totally recommend reading it, and Squarespace has tons of helpful content on fonts and colors too. Picking colors was a journey in design, and now I’m excited to share everything I learned how to install fonts using basic (I promise) custom coding.
Custom Fonts Are Next Level
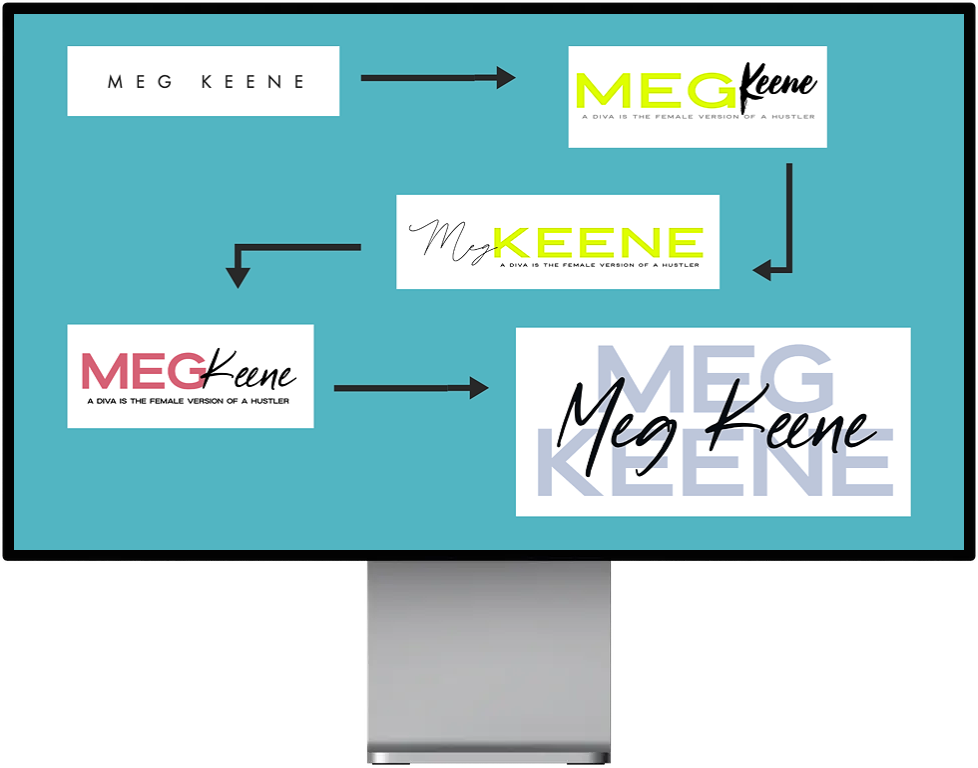
As I started to design my website a few months ago, it became clear that I would want to implement every version of customization that I could. I had built so many websites before, but this one was really where I leveled-up my design skills and put in the time and effort to make it feel fully custom. One of my first steps was to think about my logo. The older version of my website was great, but it didn’t have a logo, for starters.
So, I asked our staff to take a stab at a first round of logo design. We started by testing out the same fonts that are in our APW logo. I liked it, but… it wasn’t quite right. So, I headed to Creative Market. I had not heard of them before (ahhhh, the power of Googling stuff). But it’s an entire marketplace for digital products designed by professional designers. I accidentally spent a bit more money than I planned on different fonts, and logo mockups… but by “more money” I mean $80 for a pile of fonts that I’m now using regularly. Plus, I’m pretty pleased with how the logo turned out.
But the real trick is that I was able to install these fonts into the website, to make the whole thing look super custom. (I now have heard people saying “can you believe her site is on Squarespace? And she did it herself?” As a non-designer, I’m pretty proud of that.)
Choosing the right font for your needs
Some of us (myself included) find ourselves drawn to all the fun, frilly, script, or otherwise exciting fonts. Let me tell you right here right now… you can’t use them all. You don’t want to overwhelm your 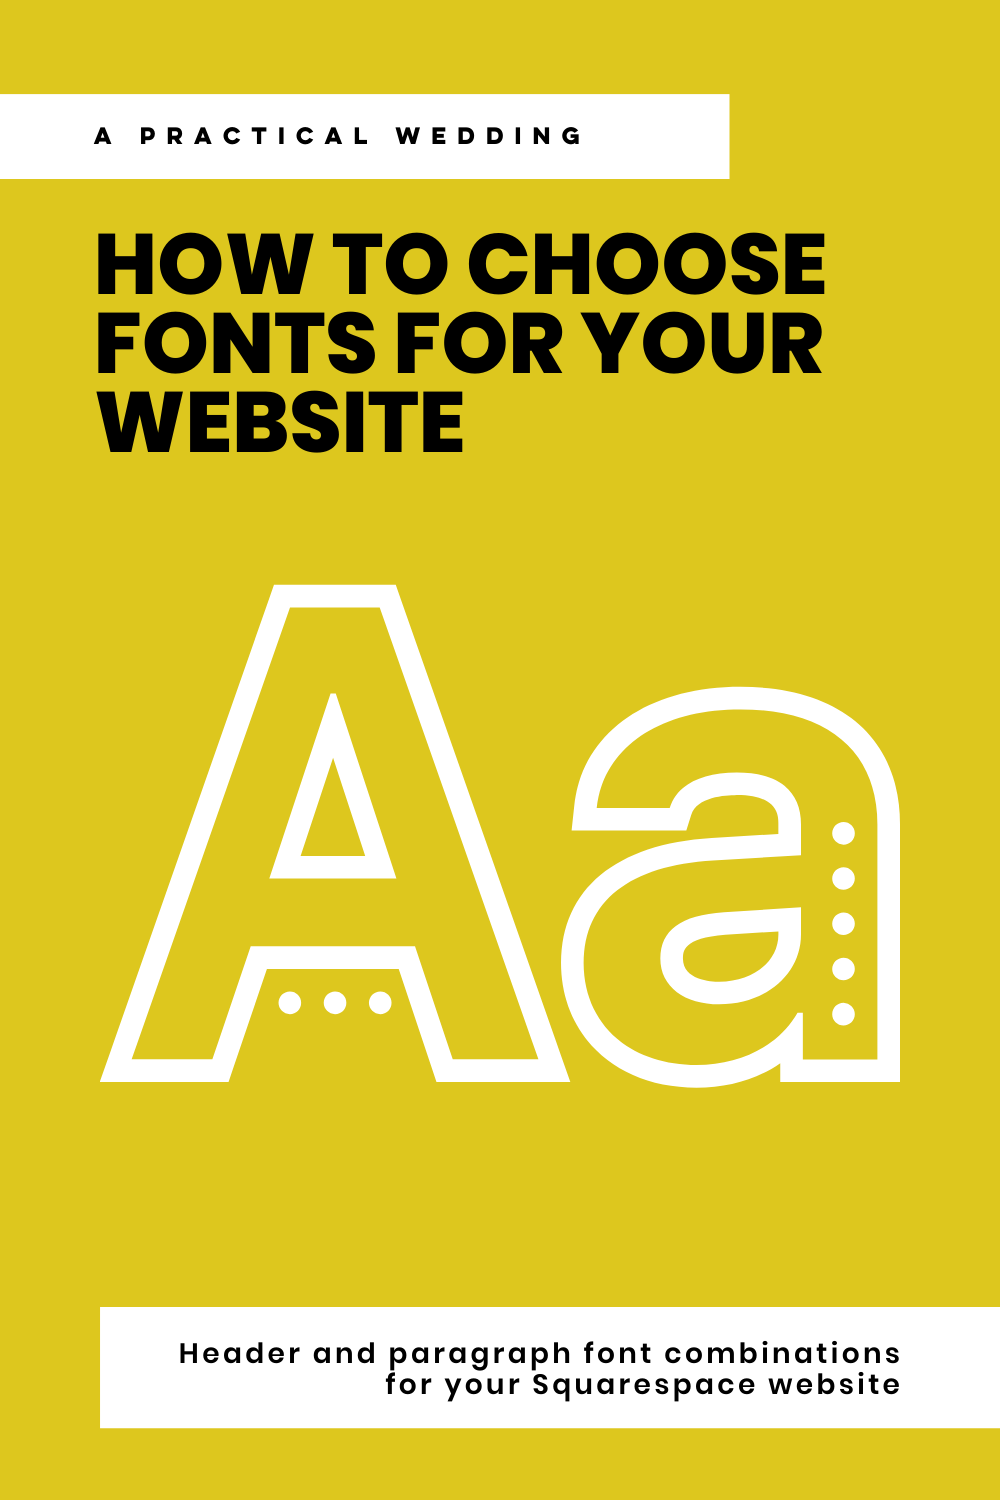 reader’s eyes (or your own) with so much fancy that they can’t read and take in the content. I tend to fall in love with a bunch of different fonts, but having a clear idea of how to pair fonts really helps.
Also, you’ll want to really think about the image or message you’re trying to portray. Does a font that looks like graffiti feel like the right match for a Chiropractic services office? Does a formal script fit the easy-going vibe of your retail shop? While designing a website can seem so easy, it is important to remember that it’s not just images and words that portray your business or personal style and message. The colors and fonts you choose will show your guests more than you might initially think. But, if you pay attention, I bet you’ll quickly notice out in the world when it feels like a brand font doesn’t match what they are offering. It makes everything feel… off.
all the fonts
This is hardly an exaggeration. I read recently that Squarespace has close to 1,600 fonts prebuilt into their system. With 600 fonts from Google Fonts (that’s what we used to make those pairings below), plus around one thousand Adobe fonts. That is so many… imagine all the potential pairings. It can honestly feel overwhelming. Sometimes it’s having all the choices that make choosing feel impossible.
We wanted to help, so we created some simple font pairings to get you started. Feel free to steal these ideas for your website (all of these fonts are built right in).

So how exactly do you implement these fonts on your site? It’s pretty darn easy. From your website backend, you’ll want to get to the ‘design’ section and click on ‘fonts’. There, you’ll see that Squarespace has provided you with tons of pre-laid out font pairings. You can scroll through them almost endlessly. You can absolutely choose to just use one of the pairings and set-ups provided. But, if you’re wanting to get custom, here’s how…
Choose a font set (literally any of them). Click on the little gear logo in the corner of that font pairing box in the sidebar. This will take you deeper into the customization options, where you will be able to assign a different font for headings, paragraphs, buttons, and if you click ‘advanced’ you’ll be able to assign fonts for page titles, navigation, and more. Trust me when I say… this is easier than it sounds and will make a world of difference on your site. You want those brand fonts you’ve chosen to appear everywhere for a consistent and pleasant visual aesthetic.
Pro-tip: For your entire site, like… the whole thing… stick with no more than 3 fonts. You’ll want one or two for headings, and one for paragraphs and smaller text. These should be the same fonts that you use on your logos and any graphics. Any more than that and it’s going to feel visually disorganized and overwhelming.
Get real fancy with fonts
While the 1,600 fonts available pre-built into Squarespace are frankly more than enough… sometimes you just want something more. Ok, fine. That’s me. I liked the fonts available on Squarespace, but fonts designed by designers can have a little extra something. I loved the logo font pairing that I got from Creative Market, so I knew I needed to use those fonts on the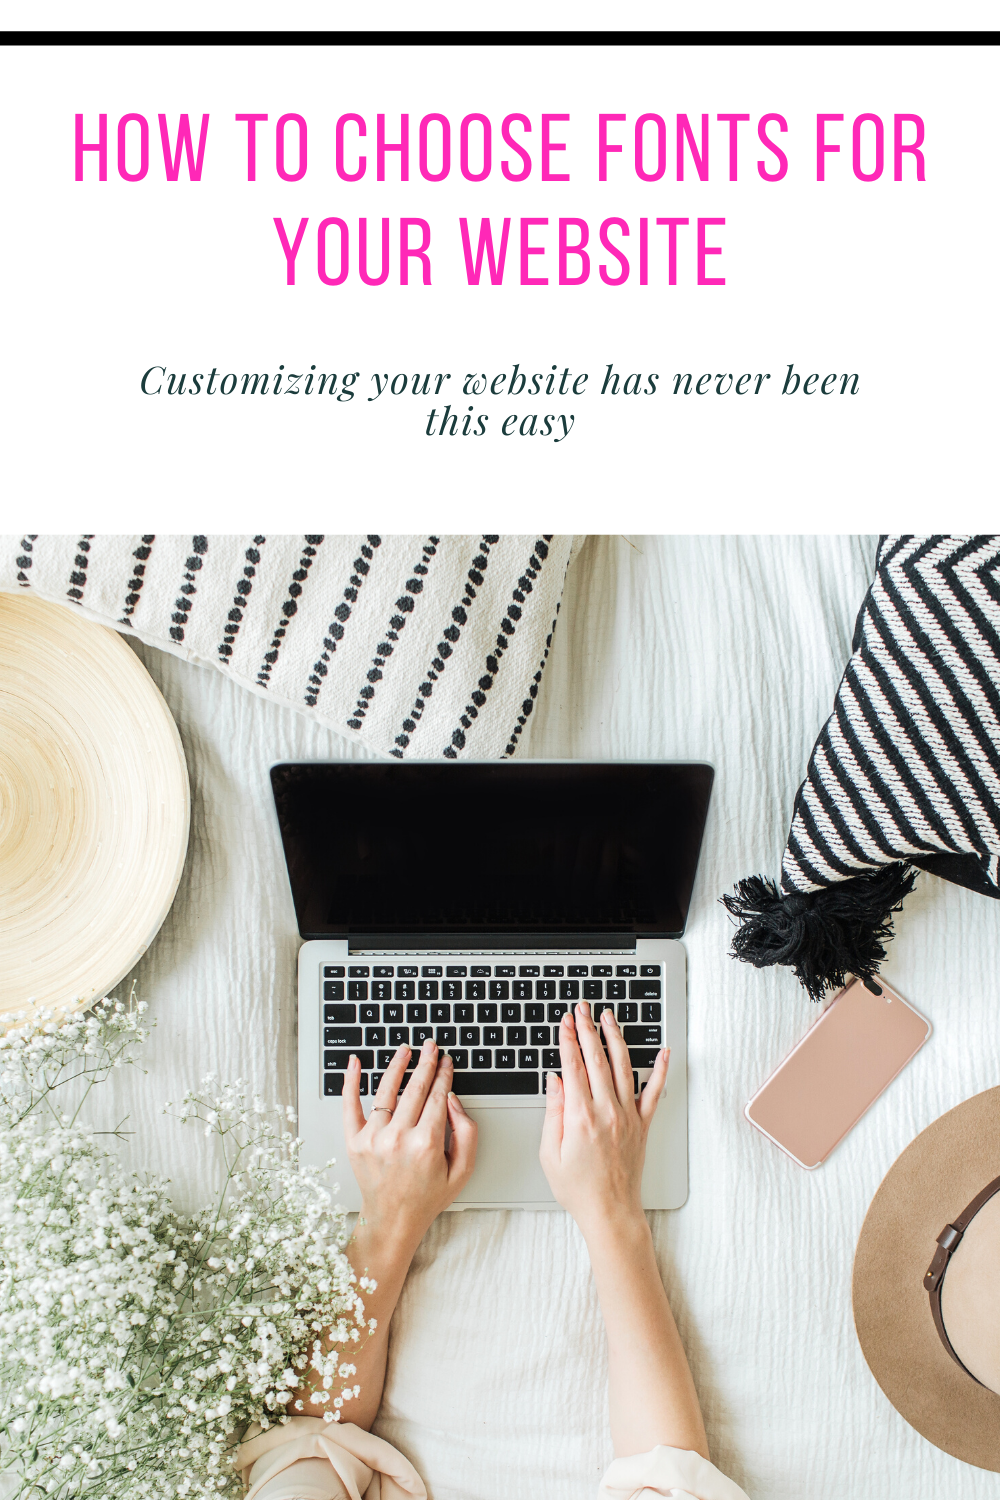 rest of my site.
But how? I am absolutely, in no way, a designer or website coder. Using custom fonts has to mean custom coding… right? Well, yes. But I promise you can do it. I did it. By myself… with a little help from the internet.
I found this post online, which helped immensely. It has step by step instructions for how to load and implement a custom font yourself—and a video, too. Vital for visual learners.
Now, before you give up on me and scream at the computer screen, you need to know that there are literally 3 steps. You can do this.
I am absolutely not as knowledgeable as… most folks on this stuff. Kayleigh’s post is much more detailed and helpful, but… the abbreviated steps are:
- Upload your font. If, like me, you’ve downloaded a font from somewhere on the internet, you’ll now have that file saved on your computer. Head to Design > Custom CSS. Scroll to the bottom where you’ll see ‘Manage Custom Files’ and upload your fonts there.
- Tell Squarespace where to find the font you want to use. In this step, you’re going to need to do a little bit of coding. But, in the post I shared above… you can just copy and paste her details! Yay!
- Assign each portion of your site, to the fonts you’ve chosen. Again, go and copy the code that is offered in that post. Tell Squarespace which font you want used as headers, and which as paragraphs, etc.
I have gotten to the point where I’m sort of dubiously excited to see where 2020 will lead me. (Professionally, at least.) I know I’m still only just getting started with my new website, my new brand, and new products. And mostly (and I say this totally totally from my heart) I’m so glad Squarespace exists, because it gave me an easy and affordable way to get a rough draft of my brand out into the world… and time and energy to refine it as I figure out what the heck I’m doing.
Now you. What are you professionally up to in 2020? And if you want me to give you advice on your website in the comments, let’s hit it.
Have you built your own website? What was your favorite thing to play with to make your site feel like you? Would you brave some custom fonts? Share your website below… we’d really love to see it.
![]()
This post was sponsored by Squarespace. We are thrilled to be continuing our partnership with Squarespace talking about what it means to be a woman with #goals in this modern world. Whether you’re stepping up in your career or striking out to do your own thing, one of the best things you can do for yourself is creating a place online where you can show off your work in the form of a portfolio site, an online resume, or another hub that displays just how awesome you are. Squarespace provides an all-in-one hub (including easy to use templates that you can customize to your heart’s content, custom domains, and 24-hour support) that makes it easy to build your online home beautifully. Never made a website before and have no idea where to start? Check out all of our content on Squarespace websites, we’ll help you out—plus, they have tons of helpful resources available. Click here to get your website started today with a free 14-day trial from Squarespace. APW readers get 10% off your first Squarespace purchase when you use the code APW2020 at checkout.

